Pololu Blog »
Pololu Blog (Page 76)
Welcome to the Pololu Blog, where we provide updates about what we and our customers are doing and thinking about. This blog used to be Pololu president Jan Malášek’s Engage Your Brain blog; you can view just those posts here.
Popular tags: community projects new products raspberry pi arduino more…
Internet Controlled T-Slot XY Table
A customer sent us a link to this instructable that shows how to make an automated XY table that can be controlled through the internet. It is constructed from T-slotted aluminum extrusions and uses an Arduino and jrk 21v3 motor controllers to drive the axes using a pulley system.
You can interact with this XY table by going to TeleToyland, which has a browser based interface that allows you to draw an image and watch the XY table reproduce your image in a sandbox.
Featured link: http://www.instructables.com/id/Internet-Arduino-Controlled-T-Slot-XY-Table/
New stranded wire: It's back to spool time!
 |
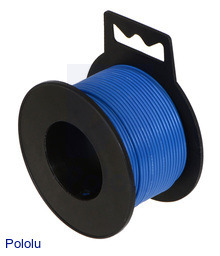
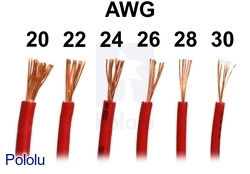
We just added bulk stranded hook-up wire in six gauges (20, 22, 24, 26, 28, and 30 AWG) and six colors to our selection of cables and wire. With all the combinations, that’s 36 new options for wiring up your next project! The convenient mini spools are all filled, so the wire lengths range from 40 to 100 feet (12 to 30 meters), depending on thickness.
|
|
New products: Fixed 3.3V and 5V Step-up Voltage Regulators U1V10F3 and U1V10F5
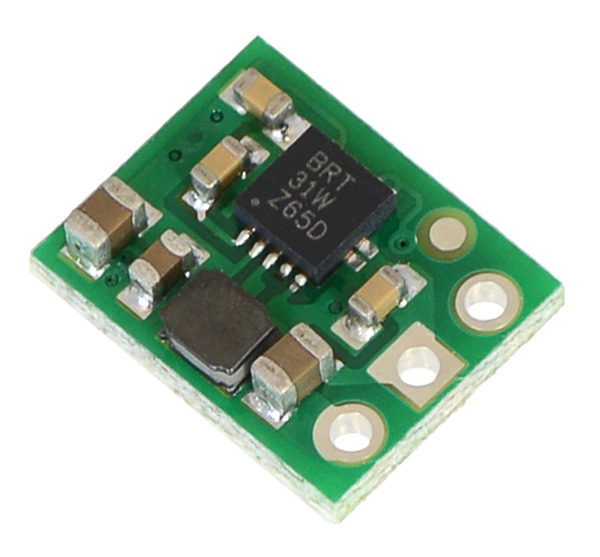 |
We have released two new step-up regulators that can boost input voltages as low as 0.5 V. Like the very similar U1V11x line of step-up regulators, these modules automatically switch to a linear down-regulator mode when the input voltage exceeds the output, making them great for powering electronics projects from 1 to 3 NiMH, NiCd, or alkaline cells or from a single lithium-ion cell. These modules do not offer the U1V11x shutdown functionality, which allows them to be much smaller (just 0.35″×0.45″) and a little less expensive ($4.49 each).
These regulators are available with a 3.3 V or 5 V fixed output voltage. For other options, you can take a look at our full selection of step-up voltage regulators, step-down voltage regulators, and step-up/step-down regulators.
Tron Suit Costume
 |
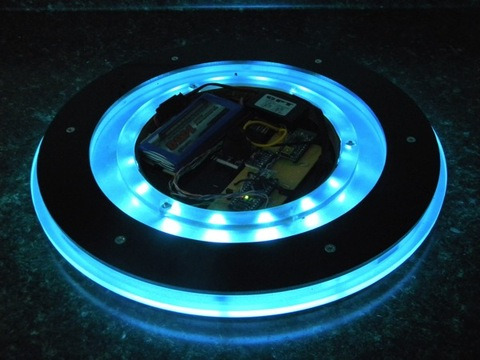
Swap_File posted a write-up of this Tron-inspired costume on the Adafruit forums. A pair of Wixels — one in the disc and another in the jacket — helps to enable wireless control of the suit’s lights and displays.
 |
The costume was featured in a Wearable Wednesday blog post on the Adafruit blog.
Featured link: http://www.forums.adafruit.com/viewtopic.php?f=47&t=41560
Brute Force Car Radio Code Solver
Forum user Christian, writing from Germany, posted this video of an automated system he built that pushes buttons on a car radio (Becker Mexico CD 876) as a brute-force method to determine its radio code. In his system, he uses our Mini Maestro 12-Channel USB Servo Controller and 10 servos to extend rods of wood to press the numbered buttons on the radio console. You can read more about his system in this forum post.
The setup had already run for 3 days straight, but Christian expects it to take another 30 days to finish entering all 10,000 codes. We look forward to hearing back from Christian once it finishes.
Featured link: http://forum.pololu.com/viewtopic.php?f=2&t=7280
Pololu Wixel with SD Card as USB Mass Storage Device
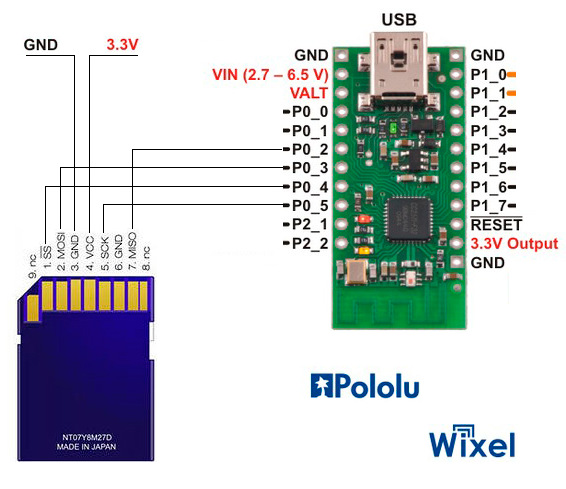 |
Pololu Forum user VolAnd, writing from St. Petersburg, Russia, posted about an app that turns a Wixel into a USB SD card reader. The Wixel identifies itself as a mass storage device, and basic read/write operations are working. His goal is to create files with the Wixel that he can then read from a PC. You can read more or get the app from his forum post.
This Wixel app and many others are available in our listing of community-contributed apps on the forum.
Featured link: http://forum.pololu.com/viewtopic.php?f=2&t=7143
Camera Control and Stabilization via PC
In this video, x-ioTechnologies uses one of our Maestro USB servo controllers with their x-IMU to demonstrate control and stabilization of a 3 DOF camera mount.
Featured link: http://www.youtube.com/watch?v=xjZod2SWvz4
New products: Encoder motors for 25D mm and 37D mm metal gearmotors, without gearboxes
We are now selling the motor and encoder portion of three of our metal gearmotors, without a gearbox. The pinion gear on the output shaft works with the gearboxes on the corresponding products, so these can be used as replacement motors or encoders.
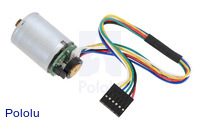 |
Motor with 48 CPR Encoder for 25D mm Metal Gearmotors (No Gearbox)
 |
HP Motor with 48 CPR Encoder for 25D mm HP Metal Gearmotors (No Gearbox)
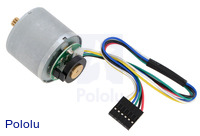 |
Motor with 64 CPR Encoder for 37D mm Metal Gearmotors (No Gearbox)
ARM mbed NXP LPC1768 price reduced by $10
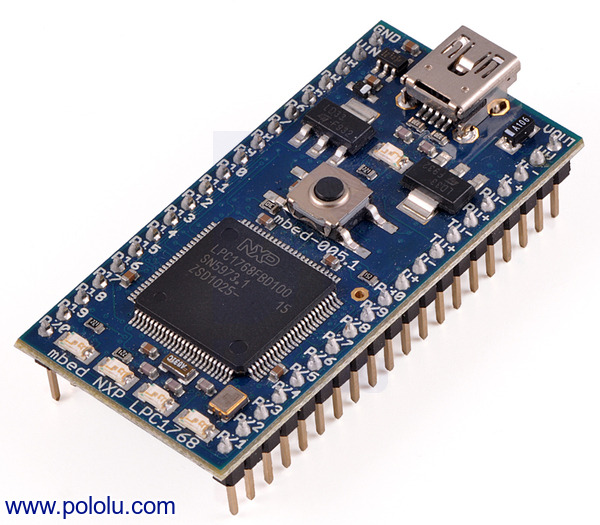 |
You can now buy the ARM mbed NXP LPC1768 Development Board for just $49, a reduction of $10. We also lowered the price of the m3pi Robot + mbed NXP LPC1768 Development Board Combo by $10, to $189.95.
From the product page:
The mbed NXP LPC1768 is an easy-to-use MCU development board designed for rapid prototyping. At its heart is a powerful 32-bit ARM Cortex-M3 processor running at 96 MHz with 512 KB flash and 32 KB RAM, which makes it far more capable than popular 8-bit prototyping alternatives. A comprehensive firmware library and plenty of sample code help you get your program up and running quickly, and a free online IDE and C++ compiler means that no software installation is required. Downloading programs is as simple as using a USB flash drive (no external programmer is necessary).
|
|
Robotic Car - A Simple Way to Build a Model
In this video, Brian Douglas uses our MinIMU-9 and Zumo Robot to show how to build a control system model for a robotic car without first knowing all of the different internal workings of the car.
Brian hosts a YouTube channel where he uploads various control system videos that are intended to supplement first year classroom instruction. You might also be interested in some of his other videos: This video demonstrates closed loop control of a robotic car, and the videos in this playlist explain how to use a gyro with MATLAB/Simulink and Arduino.
Featured link: http://www.youtube.com/watch?v=th0acX5omRM
