Pololu Blog »
Pololu Blog (Page 75)
Welcome to the Pololu Blog, where we provide updates about what we and our customers are doing and thinking about. This blog used to be Pololu president Jan Malášek’s Engage Your Brain blog; you can view just those posts here.
Popular tags: community projects new products raspberry pi arduino more…
New product: SparkFun Inventor's Kit - V3 (with RedBoard)
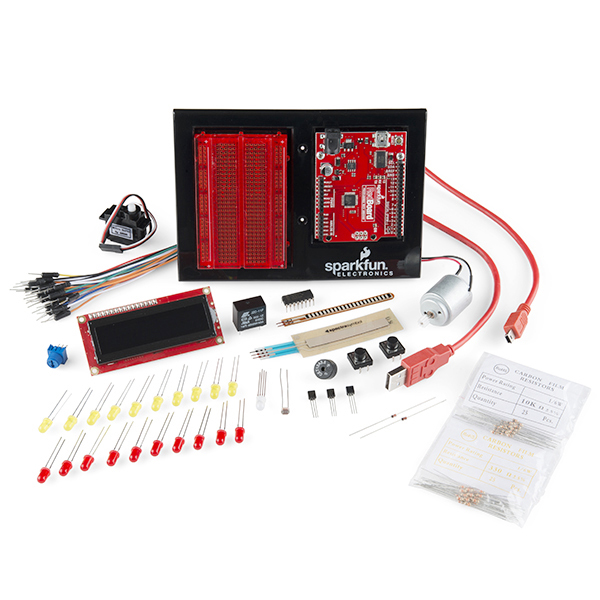 |
The SparkFun Inventor’s Kit has everything you need to construct a variety of circuits that will teach you how to use an Arduino-compatible RedBoard to read sensors, display information on an LCD, drive motors, and more. No previous programming or electronics experience is necessary, which makes this a great way for beginners to get started with embedded systems. The V3 version includes a RedBoard and detailed instructions for building 15 educational circuits with the kit components.
This replaces the older SparkFun Inventor’s Kit for Arduino with Retail Case.
For more information about the SparkFun Inventor’s Kit, see the product page.
ServoScribe Setup and Tutorial
In this video, Brian Patton demonstrates how to program an animatronic robot using a Maestro Servo Controller. He covers basic configuration using the Maestro Control Center and shows how to sync voice with servo motion using software from his company Robodyssey.
Featured link: http://www.youtube.com/watch?v=Yop9Zk2HJMU
Free Elektor magazine September 2013
 |
Get a FREE copy of Elektor magazine’s September issue with your order while supplies last. This offer is only available for orders shipped to USA or Canada. To get your free issue, enter the coupon code ELEKTOR0913 into your shopping cart. The magazine will add 6 ounces to the package weight when calculating your shipping options.
For other issues and more information, see our Free Elektor Magazine Offers page.
Video tutorial: Arduino wiring basics
Just getting started with electronics? Take a look at this video to get some tips on keeping your wiring neat and clean using our pre-crimped wires and crimp connector housings.
Featured link: http://www.youtube.com/watch?v=vEHlwq3CHk4
Video tutorial: working with custom cables and connectors
In this video, Derek Molloy shows you how to make custom cables using our pre-crimped wires and crimp connector housings and does a great job of showing how to use our crimp tool properly.
Featured link: http://www.youtube.com/watch?v=GkbOJSvhCgU
Paper ROM and balsa wood airplane
Customer Mike Kohn recently wrote to us about two of his projects that use Pololu parts:
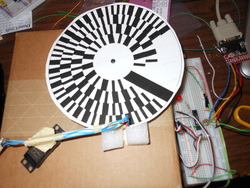 |
This paper disk is marked with black and white patterns spread across four distinct rings and can store a total of 16 bytes of data. Mike decodes the data with one of our QTR-1RC reflectance sensors. Read more about “PAPER-ROM”…
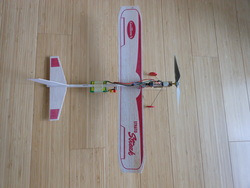 |
This balsa wood airplane uses an ATtiny85 to interpret signals from a Syma S107 helicopter remote controller, and it uses our 5:1 micro metal gearmotor HP to spin its propeller. Read more about this airplane project…
Mike has documented many of his other software and electronics projects on his web site.
Video: Pololu Cables and Wires
Our large selection of cables, wires, and connectors makes connecting electronics easier. This video will show you some of what we offer.
QTR reflectance sensors just got more affordable
I am happy to announce another price drop. This time, it’s for several of our QTR reflectance sensors!
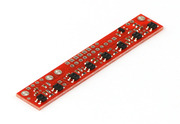 |
QTR-8A and QTR-8RC reflectance sensor arrays are now $9.95 (down from $14.95) with quantity price breaks starting at just five units. These modules feature eight IR LED/phototransistor pairs spaced 0.375″ apart, and an integrated MOSFET allows the LEDs to be turned off for additional sensing or power-savings options. These boards can optionally be broken apart into a six-sensor array and a two-sensor array.
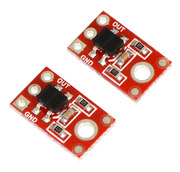 |
QTR-1A and QTR-1RC sensors are now available in packs of two for $4.25 (and for even bigger savings, we’ve dropped the individually packaged QTR-1s from $2.49 to a clearance price of $1.95).
More about QTR sensors
These sensors and the rest of the modules in the QTR family combine infrared LED emitters with phototransistors that detect the amount of reflected IR. This makes them great for applications like edge detection and line following. Each type of QTR sensor is available in two versions: “A” units indicate the reflectance with an analog voltage, and “RC” units have digital I/O-compatible outputs that let you measure the reflectance by timing the discharge of a capacitor.
And don’t forget the newer members of our QTR family, which were priced from the outset in line with our efforts to offer better quality products at lower prices:
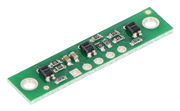 |
QTR-3A and QTR-3RC reflectance sensor arrays make a great minimal sensing solution for a line-following robot. They use smaller sensing elements than the QTR-1 and QTR-8 versions, so they can fit three IR LED/phototransistor pairs onto a compact 1.25″ × 0.3″ board.
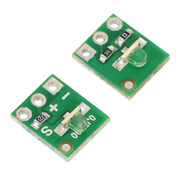 |
QTR-L-1A and QTR-L-1RC sensors use a discrete right-angle infrared LED and a right-angle phototransistor, each mounted on a different side of the board. This results in a very small sensor that has a low profile along the plane of detection.
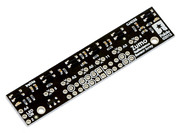 |
The Zumo reflectance sensor array incorporates six IR LED/phototransistor pairs onto a 2.6″ × 0.6″ board, with the distance between the sensors increasing as they get farther from the center of the array. This module was designed to work directly with the Zumo shield on our Zumo robot, but it can also be used as a general-purpose QTR sensor array.
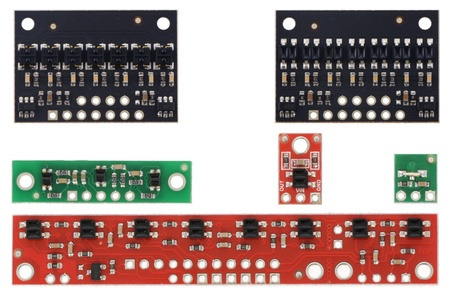 |
QTR sensor size comparison. Top row: QTRX-HD-07, QTR-HD-07; middle row: QTR-3, QTR-1, QTR-L-1; bottom row: QTR-8. |
|---|
Dagu Rover 5 controlled by a Raspberry Pi
Pololu forum user chrisptx posted this video of his Dagu Rover 5. He is using a Raspberry Pi as the main controller and sending signals to a TReX Jr Dual Motor Controller for drive control.
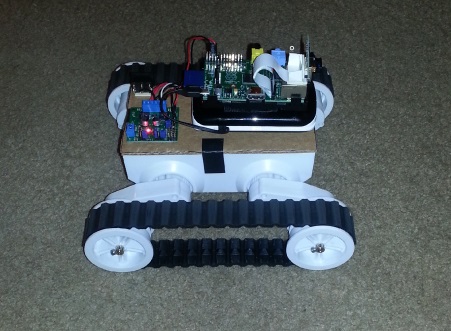 |
This rover is controlled by a Samsung Galaxy S3 smartphone, which uses its web browser to send commands to the Raspberry Pi in Javascript.
 |
Featured link: http://forum.pololu.com/viewtopic.php?f=2&t=7250
Controlling a Maestro in C using a Raspberry Pi
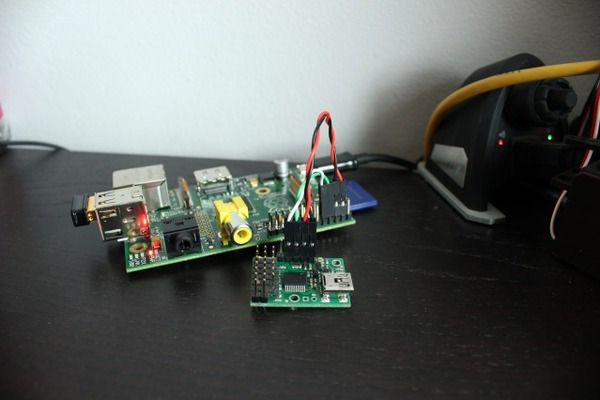 |
Shahmir Javaid tweeted about a tutorial he wrote that describes how he used a Raspberry Pi to control a Maestro servo controller in C. His tutorial documents the steps he took, including setting up the Raspberry Pi for UART, wiring, and programming. The setup is simple, and the code is provided.
Featured link: http://shahmirj.com/blog/raspberry-pi-and-pololu-servo-controller-using-c


