Pololu Blog »
Pololu Blog (Page 65)
Welcome to the Pololu Blog, where we provide updates about what we and our customers are doing and thinking about. This blog used to be Pololu president Jan Malášek’s Engage Your Brain blog; you can view just those posts here.
Popular tags: community projects new products raspberry pi arduino more…
Jon's dead reckoning robot
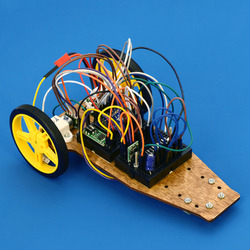
Like other engineers here, I made a robot for the LVBots dead reckoning competition. Before I knew about this competition, I hadn’t made a successful dead reckoning robot. By the end of this competition, I still hadn’t made a successful dead reckoning robot. However, I did learn more about myself and a little more about line following. This post describes my robot, Usain Volt, and details some of what I was thinking when I designed it. Continued…
New product: 130-size, high-power brushed DC motor
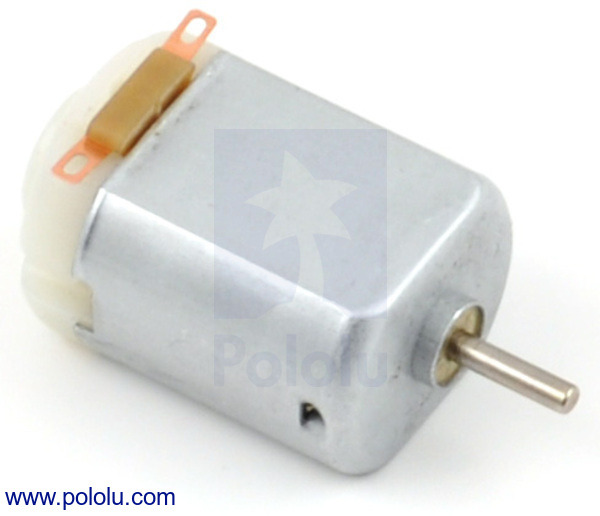 |
These new 130-size motors are great for applications that require a lot of power in a small package. They are a generic alternative the Solarbotics RM2 motors, which have the same form factor and nearly identical performance. With a free-run speed of 17,000 RPM at 3 V, they are great for upgrading projects driven by lower-power 130-size motors. For example, see this post from last year about upgrading flywheel NERF guns. This motor is also compatible with our larger Pololu plastic gearmotors (228:1 offset, 120:1 offset, 200:1 90-degree, and 120:1 90-degree) and Solarbotics plastic gearmotors (GM2, GM3, GM8, and GM9).
For more information see the Brushed DC Motor: 130-Size, 3V, 17kRPM, 3.6A Stall product page.
Related products


Paul's dead reckoning robot
This post is about my first-place entry in the 2014 LVBots Dead Reckoning Competition, a 150 mm round robot named paul-dead-reckoning2.88ec5df. I designed this robot to be similar to the 3pi, but larger, to leave plenty of room for wiring and sensor mounting. The central controller is an Arduino Leonardo, and (unlike the 3pi), the motors are equipped with quadrature encoders. Continued…
Claire's dead reckoning robot
Like several of the other engineers here at Pololu, I made a robot to compete in the LVBots Dead Reckoning Competition that took place recently. This post describes my robot, Tryangle, and the decisions that went into making it. For more information about what dead reckoning is and how it is judged, see the LVBots dead reckoning rules. Continued…
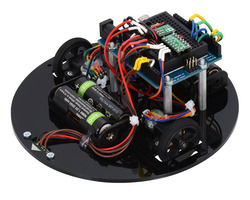
R2-DR, Kevin's dead reckoning robot

When I first started planning a robot for the recent LVBots dead reckoning competition, it was more or less a conventional design—a flat chassis with motors and circuit boards attached to the top and bottom—and I lost interest in it quickly because it felt like I was just reinventing the 3pi. I looked for a way to make the shape of the robot unique, and I noticed that the three-legged shape of R2-D2, the famous astromech droid from Star Wars, might be a good fit for a typical undercarriage composed of a ball caster and two wheels. The result of continuing along this line of investigation is my dead reckoning robot, R2-DR (you can probably guess what DR stands for). Continued…
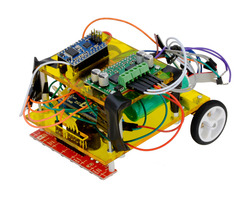
Brandon's dead reckoning robot

For the recent LVBots dead reckoning competition that was hosted here at Pololu, I decided to make a robot based on the Baby Orangutan robot controller. This post details my robot and some of the considerations made while I went through my design process. If you would like more details about the competition rules and how it was judged, see the LVBots dead reckoning rules (23k pdf).
I started by choosing my parts and making sure that my robot, which would later be named “Baby Blues”, would be able to function in the way I wanted. I decided on using the Baby Orangutan because of its integrated motor driver and compact size. Continued…
New products: 500mA Step-Down Voltage Regulator D24V5Fx
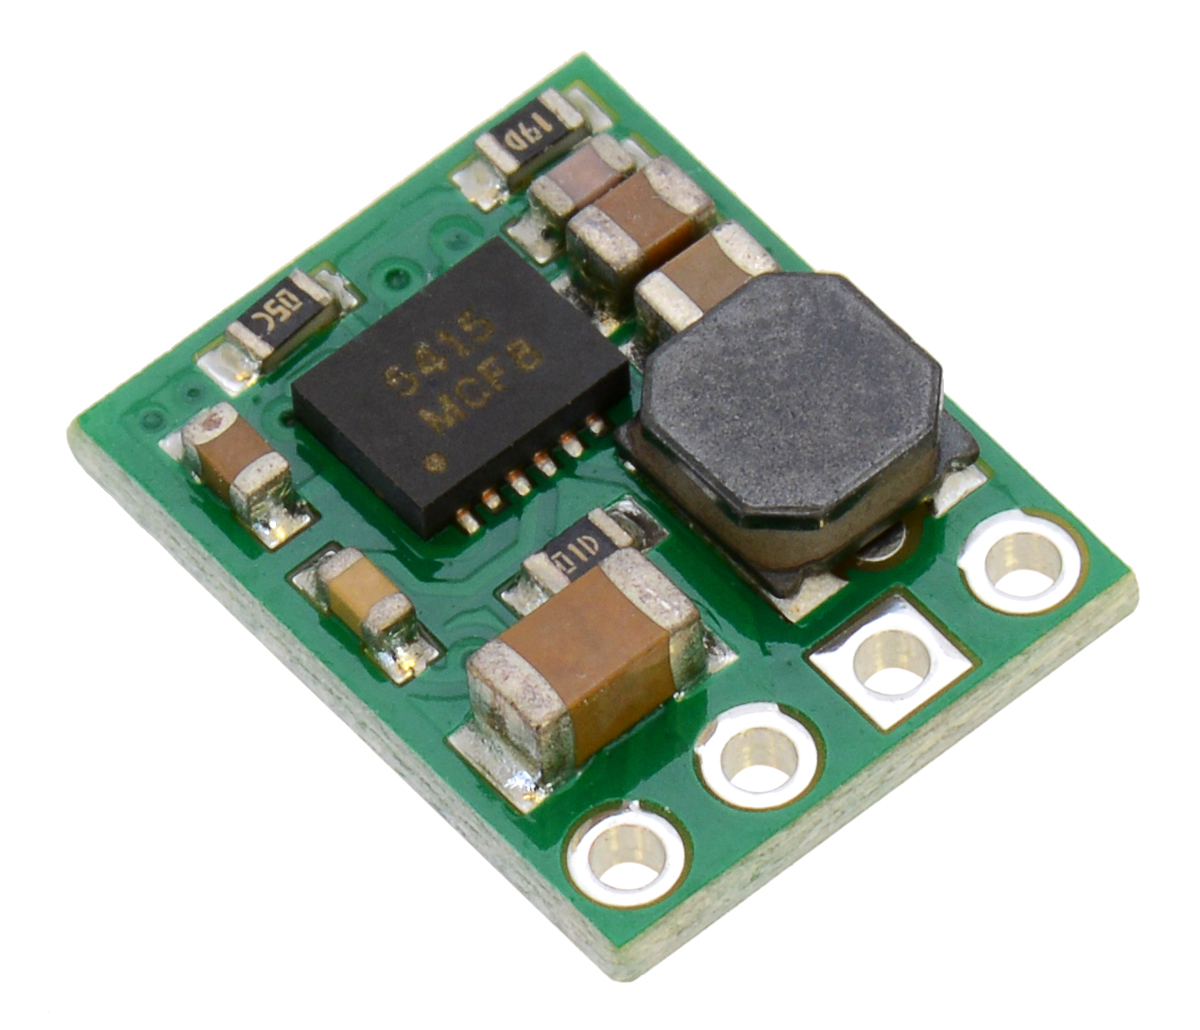 |
We are happy to introduce our D24V5Fx voltage regulator family, a next-generation version of our tiny D24V3Fx and D24V6Fx buck (step-down) regulators, which have been some of our most popular products. These new regulators are synchronous, which results in better efficiency, especially at light loads, and they have much lower dropout voltages (e.g. the 5 V version has just over 1 mV of dropout per mA of output current).
So far we have versions with 3.3 V, 5 V, 9 V, and 12 V outputs, and we will soon be releasing 1.8 V, 2.5 V, and 6 V versions; you can contact us for custom voltages, too. They operate with input voltages up to 36 V and have typical efficiencies of 80% to 93%. These regulators have integrated over-temperature and over-current shutoff, and they reduce their switching frequency from the typical 500 kHz to improve efficiency at light loads, making them well suited for low-power applications that are run from a battery.
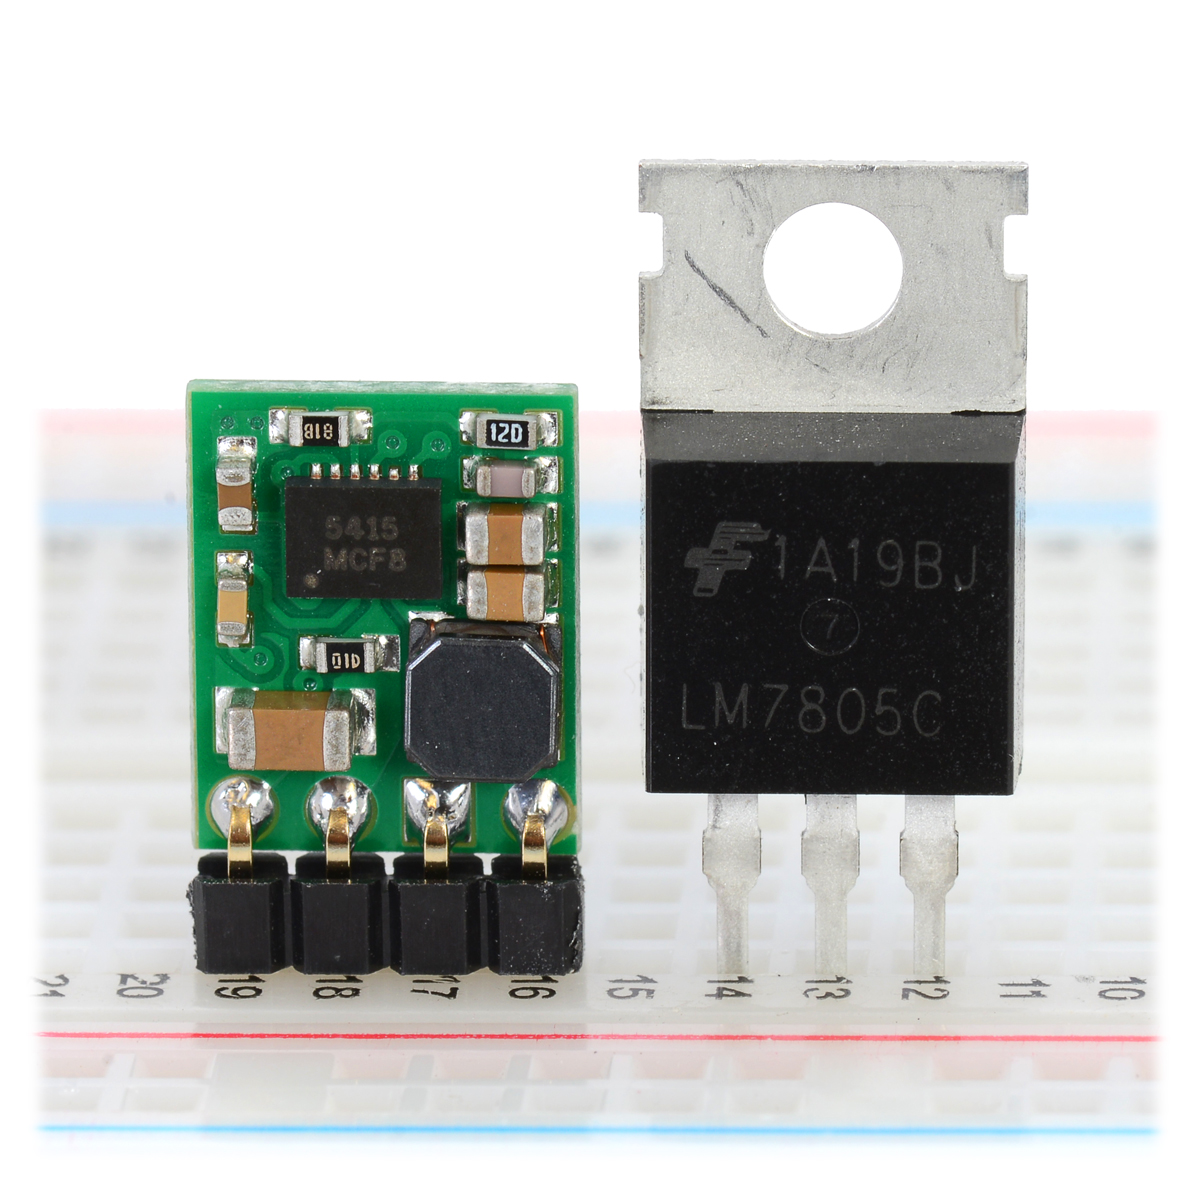
At only 0.5″ × 0.4″ × 0.1″ (13 mm × 10 mm × 3 mm) these buck regulators are also smaller than standard through hole linear regulators with DIP packages. The picture below shows a D24V5Fx next to a 7805 voltage regulator in a TO-220 package.
 |
For other regulator options, you can take a look at our full selection of step-up voltage regulators, step-down voltage regulators, and step-up/step-down voltage regulators.
Related products

New revision of the Dual VNH5019 motor driver shield for Arduino
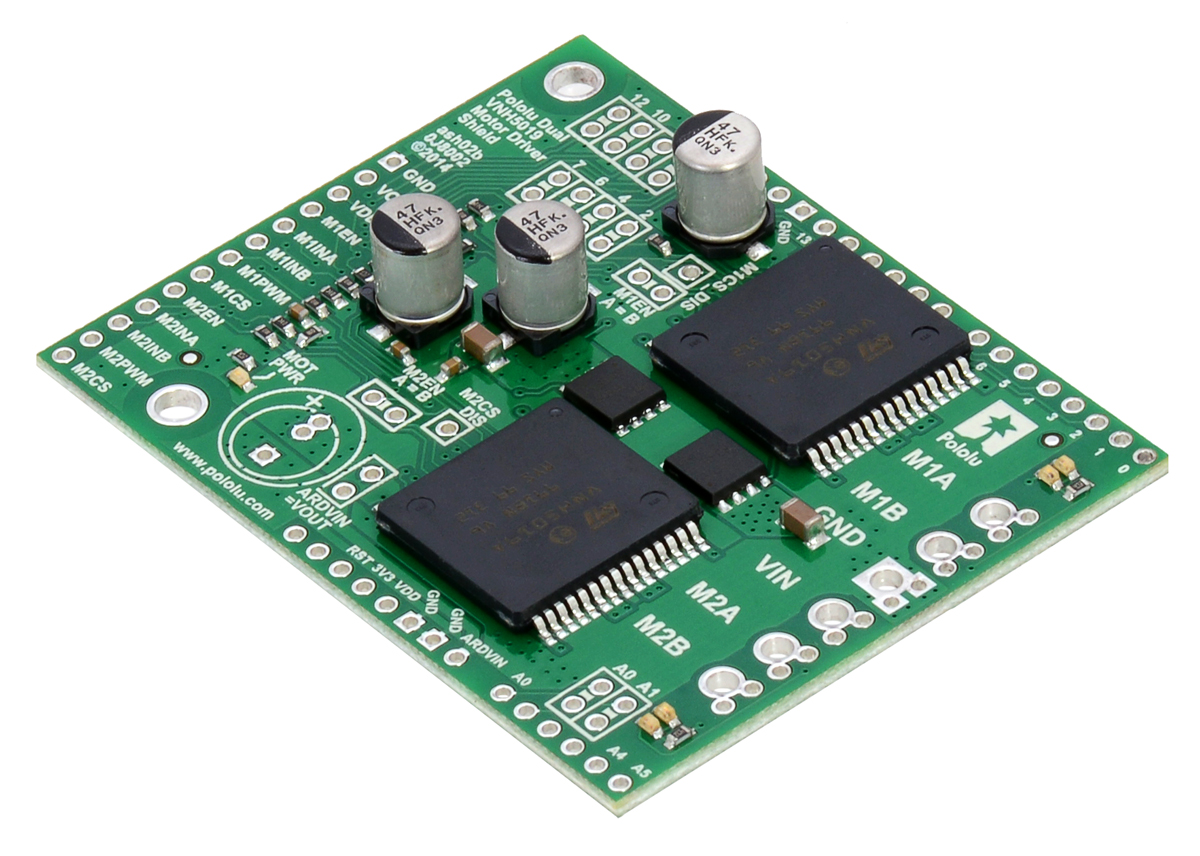 |
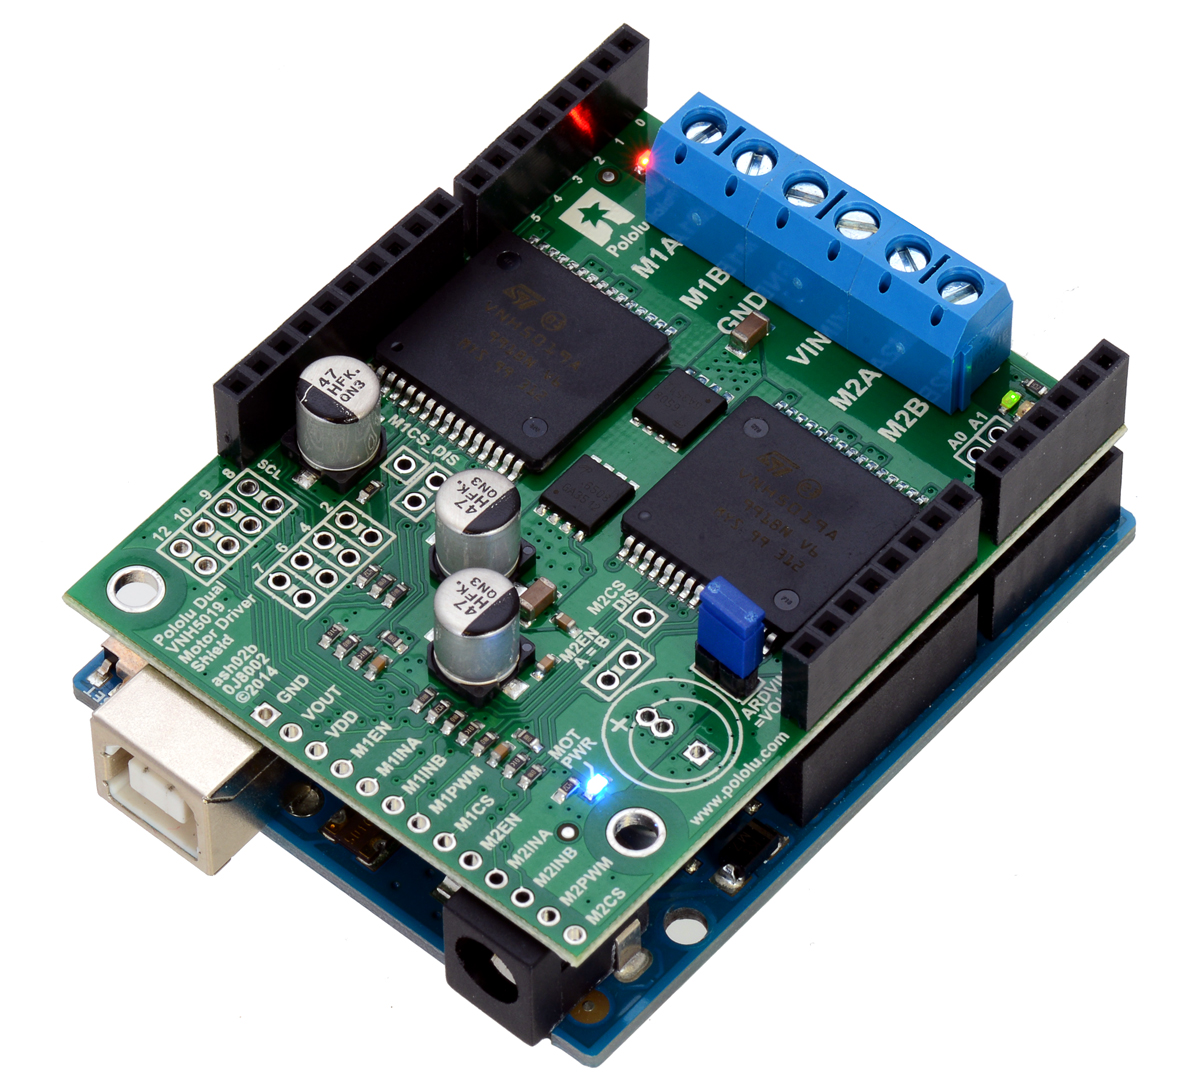
We’ve released an updated version of our dual VNH5019 motor driver shield for Arduino. The VNH5019 is a great solution for driving high-power motors, with each chip able to supply up to 12 A continuously at 5.5 V to 24 V. However, the original version of our dual VNH5019 shield was designed before the Arduino Uno R3 was released, so it lacked pass-throughs for the four new pins (SCL, SDA, IOREF, and an unused pin) introduced by the R3 and present on all newer Arduinos. This makes it harder to stack other shields with it, especially ones that make use of the new I²C pin location. The latest board revision adds these pass-throughs to make the shield fully compatible with the Uno R3 pinout.
 |
For more information, see the dual VNH5019 motor driver shield product page and user’s guide.
Related products


Higher-resolution pictures on the Pololu website
This week we made higher-resolution pictures available throughout the Pololu website. When we overhauled our website back in 2007, 1080p displays were almost unheard of, and we decided to show our pictures at a maximum width of 600 pixels so that they would fit on everyone’s screen. Now, about a quarter of our web visitors have displays that are 1080p or better, and 600 pixels is looking disappointingly small.
It turns out that even though we were not displaying them, we already had many high-resolution pictures in our database. So, just changing the code allows some old pages to get a lot better! For example, this picture of our QTR-8A Reflectance Sensor Array was originally uploaded as a 1000-pixel-wide image – now you can zoom in and try to read the resistor values:
 |
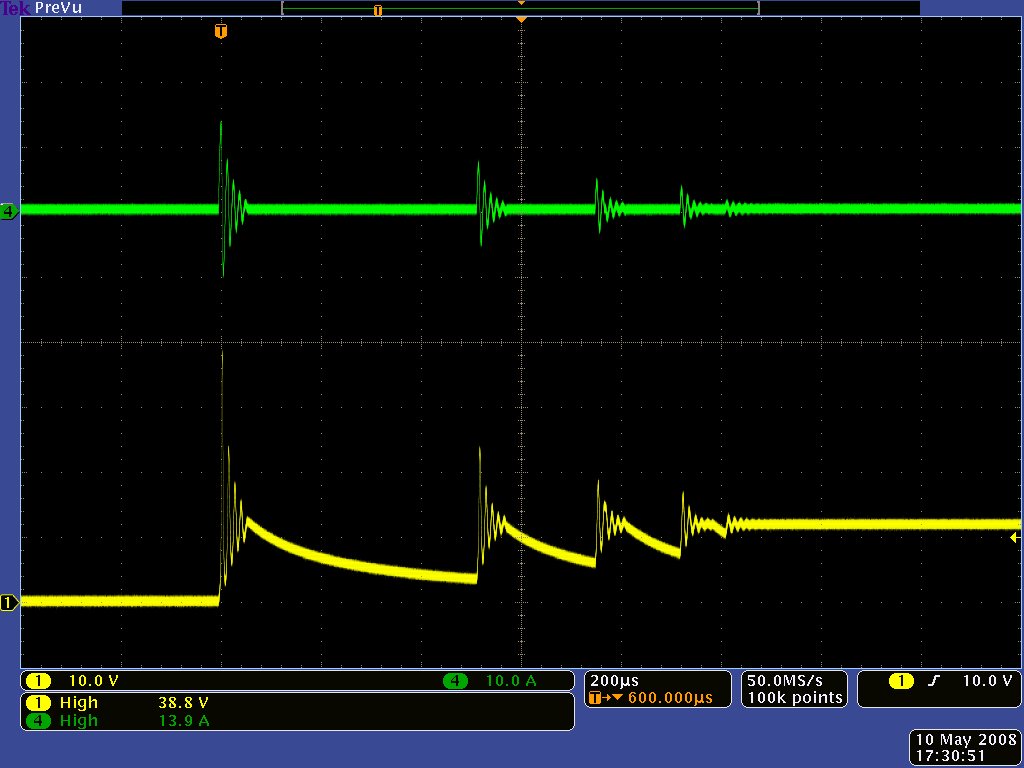
Screenshots were particularly disappointing before, since they are naturally high-resolution. Here is an example, an oscilloscope trace of some LC Voltage Spikes. Click the picture for the full, 1024-pixel-wide image. Note: the image gets resized to fit in the popup window, so you might have to click one more time to zoom in all the way.
 |
We will be gradually adding new higher-resolution pictures, but are there any that you would like us to redo as soon as possible? Any additional views, like the bottom of a board, that you think we are missing? Please post a comment to let us know.
Power Level Indicator for Ghostbusters Proton Gun
Justin Chase Black (Throwing Chicken) is an artist and long-time laser cutting client who uses laser-cut parts in his prop and replica builds. Every time we ship a laser order to him, I eagerly await a new Facebook post showing off his latest project.
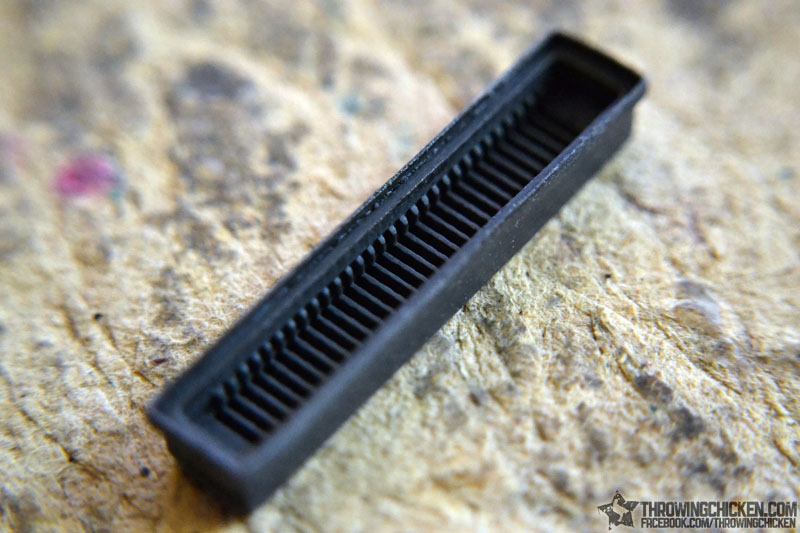
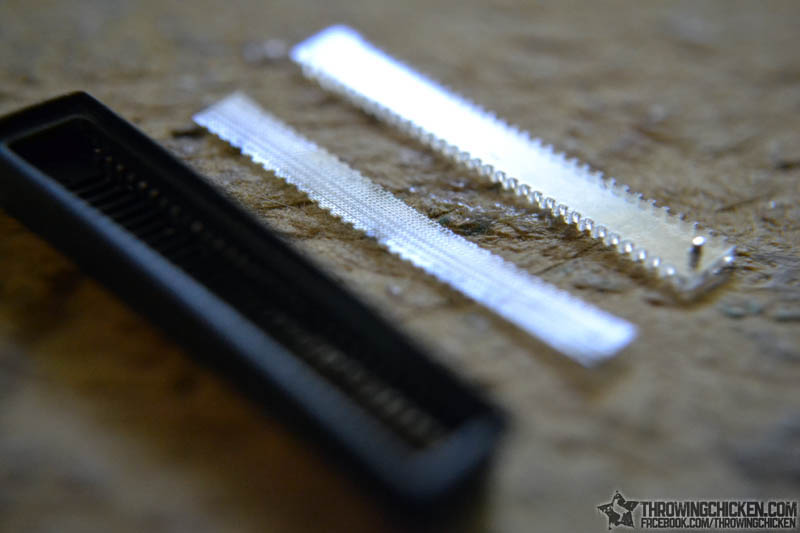
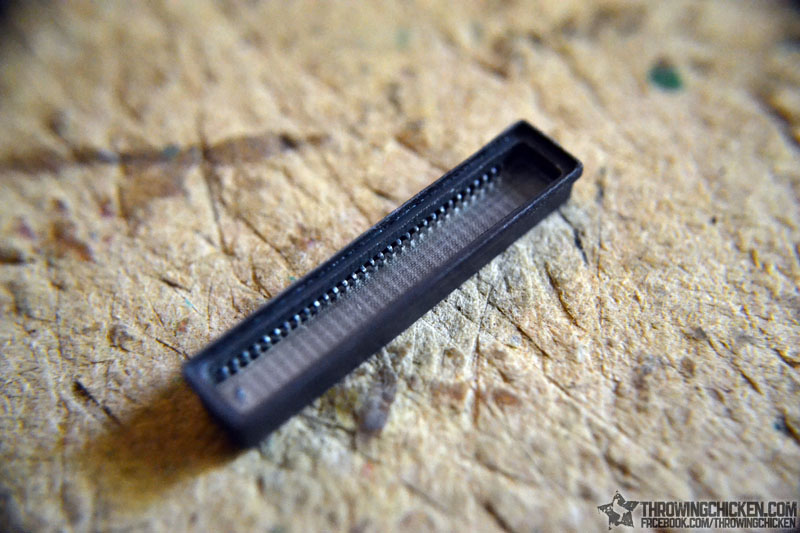
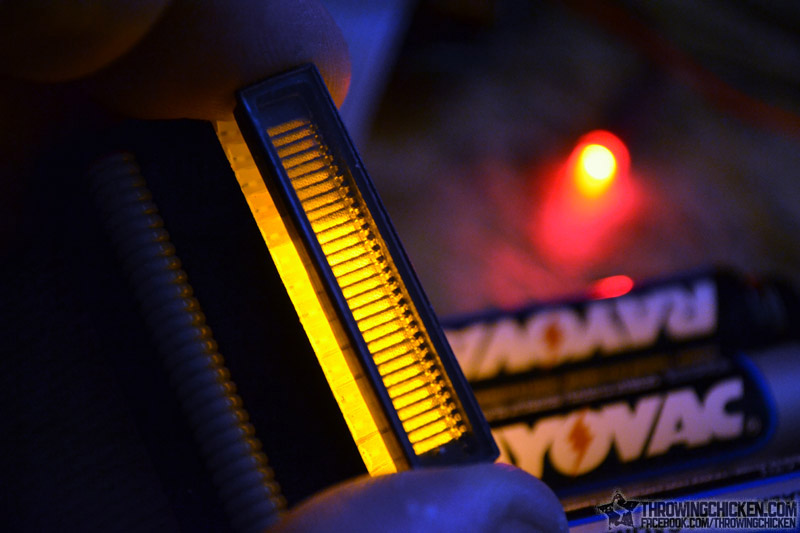
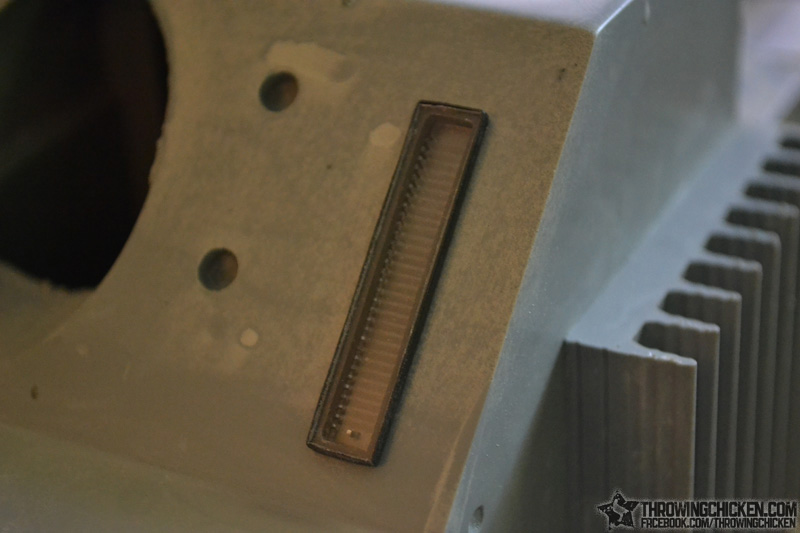
His work is extremely meticulous, skipping no detail in even the tiniest components. One of his more recent projects involves a tiny power level indicator on a “Proton Gun” replica from the movie Ghostbusters. Buying a power level indicator wasn’t an option; the ones he could find were made for aviation and cost over $1,000!
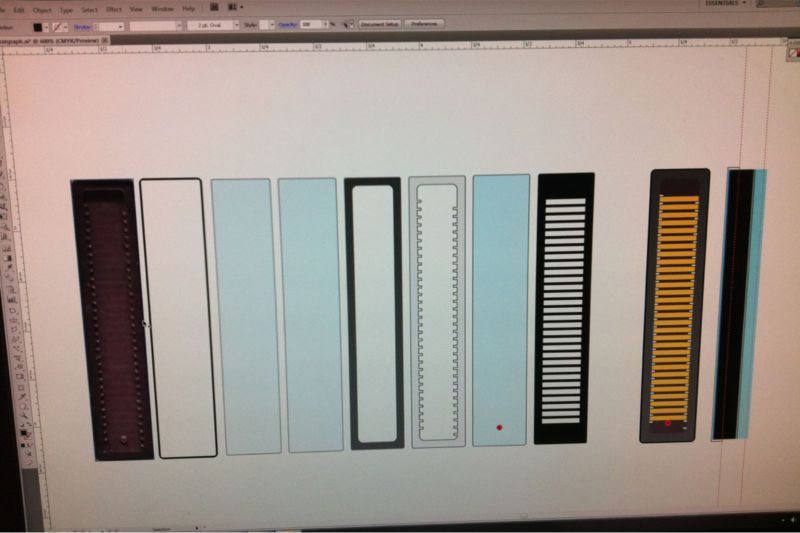
With a little trial and error, he was able to make them himself for a fraction of the cost by casting them out of resin, using our laser-cut parts to create the cast. A few of the design attempts did not come out well when cut from 1/8" acrylic since some of the features in the designs were much smaller than the thickness of the material (the design is only around 1/4" wide!). We cut various materials and thicknesses from 0.004" Mylar to 1/8" acrylic and a combination of thinner parts did the trick.
I’ll be sharing more awesome projects from Throwing Chicken in the future, but you can also check out his Artist page on Facebook for more updates. If you’d like to purchase a Ghostbusters Proton Gun Replica Kit, they’re sold on the Throwing Chicken Etsy shop.
If you have a cool project you’re working on and need some laser-cut parts: “Who ya gonna call?” (PO-LOLU!)
 |
Power level indicator replica for Ghostbusters Proton Gun. |
|---|
|
|
||||
|
|
||||
|
|
||||
|
|


Related products


Home | Forum | Blog | Support | Ordering Information | Lists | Distributors | BIG Order Form | About | Contact
© 2001–2025 Pololu Corporation


