Pololu Blog »
Pololu Blog (Page 38)
Welcome to the Pololu Blog, where we provide updates about what we and our customers are doing and thinking about. This blog used to be Pololu president Jan Malášek’s Engage Your Brain blog; you can view just those posts here.
Popular tags: community projects new products raspberry pi arduino more…
New 12 V micro metal gearmotors
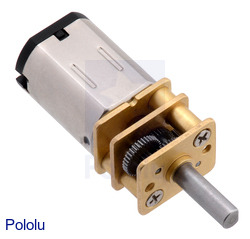
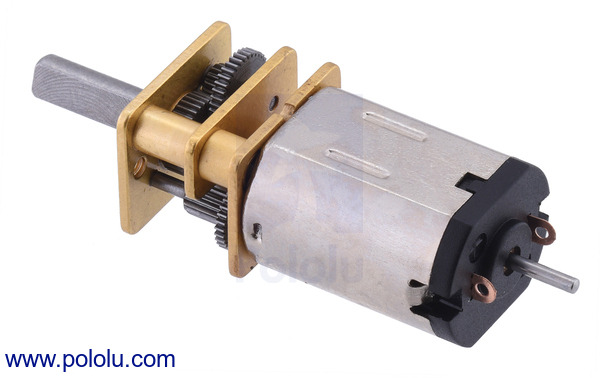
Our micro metal gearmotors are now available in 12 V versions! These high-power motors have long-life carbon brushes (HPCB) and offer the same performance as the 6 V HPCB motors at their respective nominal voltages; the only difference is that the 12 V motor draws half the current at twice the voltage.
The new 12 V gearmotors are available across our usual range of 11 gear ratios and in single- and dual-shaft versions. Along with our existing selection of micro metal gearmotors, this brings the total number of unique options available to 107:
| Rated Voltage |
Motor Type | Stall Current @ Rated Voltage |
No-Load Speed @ Rated Voltage |
Approximate Stall Torque @ Rated Voltage |
 Single-Shaft (Gearbox Only) |
 Dual-Shaft (Gearbox & Motor) |
|---|---|---|---|---|---|---|
| 12 V | high-power, carbon brushes (HPCB) |
800 mA | 6000 RPM | 2 oz-in | 5:1 HPCB 12V | 5:1 HPCB 12V dual-shaft |
| 3000 RPM | 4 oz-in | 10:1 HPCB 12V | 10:1 HPCB 12V dual-shaft | |||
| 1000 RPM | 9 oz-in | 30:1 HPCB 12V | 30:1 HPCB 12V dual-shaft | |||
| 625 RPM | 15 oz-in | 50:1 HPCB 12V | 50:1 HPCB 12V dual-shaft | |||
| 400 RPM | 22 oz-in | 75:1 HPCB 12V | 75:1 HPCB 12V dual-shaft | |||
| 320 RPM | 30 oz-in | 100:1 HPCB 12V | 100:1 HPCB 12V dual-shaft | |||
| 200 RPM | 40 oz-in | 150:1 HPCB 12V | 150:1 HPCB 12V dual-shaft | |||
| 140 RPM | 50 oz-in | 210:1 HPCB 12V | 210:1 HPCB 12V dual-shaft | |||
| 120 RPM | 60 oz-in | 250:1 HPCB 12V | 250:1 HPCB 12V dual-shaft | |||
| 100 RPM | 70 oz-in | 298:1 HPCB 12V | 298:1 HPCB 12V dual-shaft | |||
| 32 RPM | 125 oz-in | 1000:1 HPCB 12V | 1000:1 HPCB 12V dual-shaft | |||
Independence Day weekend sale
In celebration of Independence Day (July 4th), we are discounting selected products by up to 25% and offering an upgrade to the next best price break for everything else in our store. Please note that we will be closed Monday, so orders will not ship until Tuesday, July 5.
For more information, including all the discount coupon codes, see the sale page.
 |
Happy 4th of July!
Pololu ball casters used as "feet" for quadcopter
One of our customers, Jeff, found a creative way to use some of our 1″ ball casters. He was having a problem with the legs of his quadcopter “grabbing” when he landed, so he attached a ball caster to the end of each leg. You could read more about his modification and find more pictures of his quadcopter in his post on the RCGroups.com forum.
Memorial Day weekend sale
We are having a big Memorial Day sale now through Monday, with discounts on over 800 products when you use the coupon code MEMORIALDAY16. Stock up on robot parts now so you can build cool things all summer long! Note that we will be closed on Monday, so orders will not ship until Tuesday, May 31.
For more information, including all of the sale items, see the sale page.
New product: Raspberry Pi 3 Model B
We are now offering the Raspberry Pi 3 Model B. The Raspberry Pi is a popular credit card-sized computer that can run ARM Linux distributions. As the successor to the Raspberry Pi 2 Model B, the Pi 3 has a more powerful processor and adds wireless connectivity. Here are the specific improvements:
- 1.2 GHz 64-bit quad-core ARMv8 CPU
- 802.11n Wireless LAN
- Bluetooth 4.1
- Bluetooth Low Energy (BLE)
Along with these improvements, the Raspberry Pi 3 maintains compatibility with and the form factor of the previous Pi 2 (and Pi 1 Model B+). With its 0.1″-spaced GPIO header and small size, the Raspberry Pi also works as a programmable controller in a wide variety of robotics and electronics applications. It can also be combined with our A-Star 32U4 Robot Controller LV with Raspberry Pi Bridge to make a great controller for a small robot. We also carry a selection of Raspberry Pi expansion boards.
|
|
This comparison chart can help in selecting the right Raspberry Pi for your project:
 Raspberry Pi Model A+ 512MB |
 Raspberry Pi Model B+ |
 Raspberry Pi 2 Model B |
 Raspberry Pi 3 Model B |
 Raspberry Pi 3 Model B+ |
|
|---|---|---|---|---|---|
| CPU: | BCM2835 | BCM2836 | BCM2837 | BCM2837B0 | |
| CPU cores: | 1 | 4 | |||
| CPU speed: | 700 MHz | 900 MHz | 1.2 GHz | 1.4 GHz | |
| RAM: | 512 MB | 512 MB | 1 GB | ||
| Ethernet: | No | Yes | |||
| WiFi: | No | 2.4 GHz 802.11n | 2.4 GHz 5 GHz 802.11b/g/n/ac | ||
| Bluetooth: | No | 4.1 | 4.2 | ||
| Bluetooth Low Energy: | No | Yes | |||
| HDMI: | Yes | ||||
| Analog video: | Yes1 | ||||
| SD socket: | microSD | ||||
| Onboard regulators: | switching | ||||
| Expansion header pins: | 40 | ||||
| USB ports: | 1 | 4 | |||
| Mounting holes: | 4 | ||||
| Dimensions2: | 2.5″ × 2.2″ × 0.47″ | 3.35″ × 2.2″ × 0.8″ | |||
| Weight3: | 23 g | 42 g | 50 g | ||
1 Audio and analog video provided by a single four-pole 3.5 mm jack. This 3.5 mm jack also has its own dedicated low-noise power supply for improved audio.
2 Length and width measurements are for the PCB only; several of the connectors extend past the edge of the board.
3 Weight does not include microSD cards.
Tru.D 3D
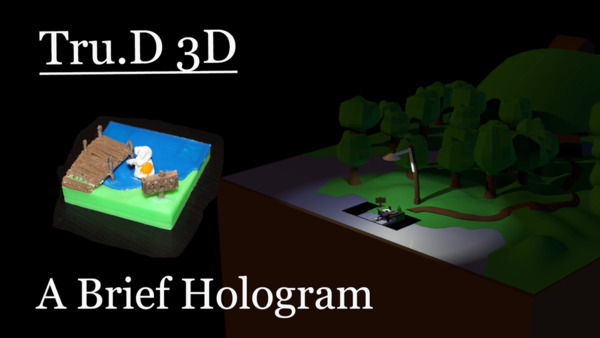
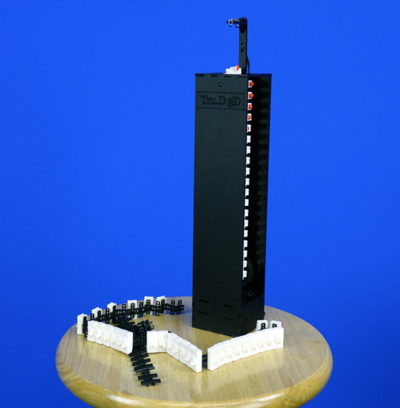
On Monday, Colin McGinn launched a Kickstarter in order to create a 3D short film using Tru.D 3D, which is a volumetric display system that he designed and patented. The system quickly feeds 3D volumetric objects into a specific viewing area, and each 3D piece forms a frame of an animation to tell a story that can be viewed from any angle.
Included among the Kickstarter rewards is a mini Tru.D 3D machine, which uses our micro metal gearmotors and magnetic encoders to perform a short, two-second animation. The machine is small enough to hold in your hands, and backers have the option of choosing from one of three different animations.
 |
You can find more information on Colin’s project, including the full digital version of the short film, on his Kickstarter.
Sixteen new micro metal gearmotor versions!
We just added 16 new micro metal gearmotors to our already huge selection, including three totally new MP (medium power) gear ratios: 5:1 MP, 210:1 MP, and 250:1 MP. With these new additions, we now have dual-shaft versions available in any combination of our 11 gear ratios and four motor types, giving you 44 different options that work with encoders like our magnetic encoder pair kit.
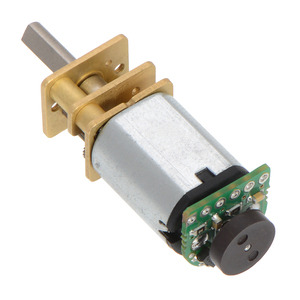 |
Magnetic Encoder Kit for Micro Metal Gearmotors assembled on a micro metal gearmotor with extended motor shaft. |
|---|
In all, this increases our total selection of micro metal gearmotors to 85 unique options:
New version of the Wixel Shield for Arduino
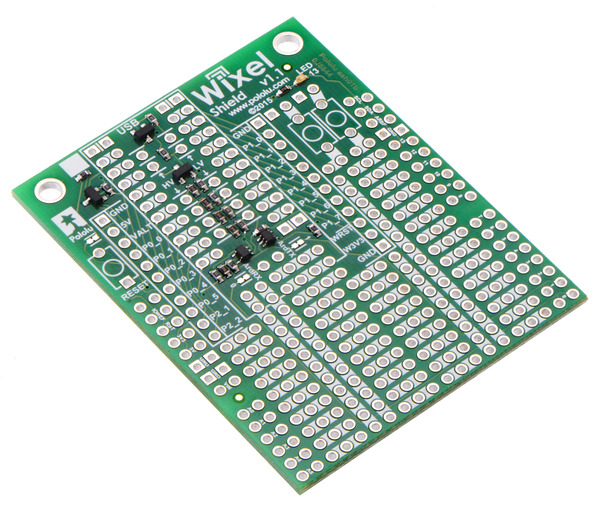
We’ve updated our Wixel Shield for Arduino with a few minor improvements. The Wixel Shield provides an easy way to connect a Wixel wireless module to your Arduino or A-Star 32U4 Prime, enabling wireless communication and even wireless programming (on some Arduinos). However, the original version of the shield was released many years ago, so it was not designed with the modern pinout of the Arduino Uno R3 in mind.
The Wixel Shield v1.1 adds pass-throughs for the four new pins—SCL, SDA, IOREF, and an unused pin—introduced by the R3 and present on all newer Arduinos, making it easier to stack other shields with it (especially ones that make use of the new I²C pin location). It also features improved level shifter circuits that make use of the IOREF voltage provided by the Arduino, allowing the shield to work automatically with both 5 V and 3.3 V Arduino boards.
The Wixel Shield for Arduino v1.1 is available by itself and as part of a combination deal that includes a pair of Wixels and a USB cable. See the user’s guide for the shield for additional information.
New product: MP3 Trigger V24
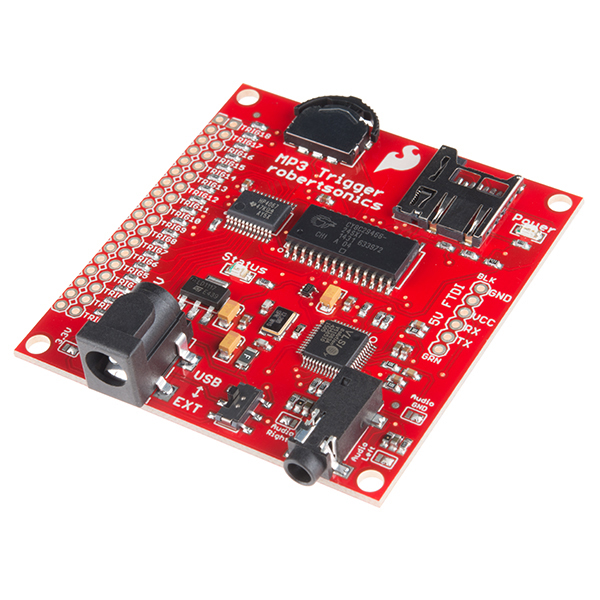 |
The updated MP3 Trigger V24 from SparkFun is now for sale. This new version features improved firmware that can read a configuration file from the SD card, making it much easier to use without a microcontroller. We posted previously about a project using an A-Star 32U4 and an MP3 Trigger to make a Scary shaking tombstone. The MP3 trigger also pairs nicely with the Maestro Servo Controllers because you can use a Maestro servo controller’s scripting capability to trigger sounds to play in sync with motion. You can see examples of how people are using them on our forum here and here.
The Pololu Forum now uses Discourse
We started the Pololu Forum in 2004 as a place for product support and discussion, where Pololu customers can interact directly with each other and Pololu engineers. The forum is our preferred medium for handling technical support since the answers can potentially benefit multiple people and can include the experience of other helpful members of the community.
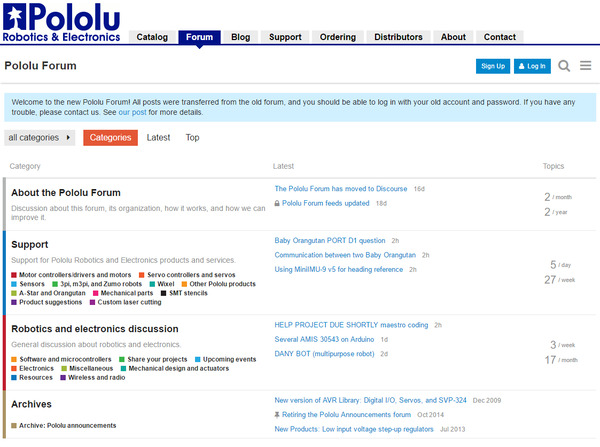
Recently we changed the forum software from phpBB to Discourse, a more modern and mobile-friendly forum package. We migrated user accounts and posts, so you should still be able to use your same forum username and password to log in. (Your forum account is separate from your Pololu.com account, though.) If you don’t have an account, now is a great time to sign up and join in the robotics and electronics discussion! You can read a lot more about Discourse on its “About” page.
We would be happy to hear how your experience is with Discourse, and if you have any suggestions or feedback on the change, you can post a comment here or in the “About the Pololu Forum” category on the forum.
Here are some technical details about the migration: before migrating, the forum had around 11 thousand user accounts and over 45 thousand posts, so I was very happy to find that following the instructions from the Importing from phpBB3 topic worked well. One thing the importer does not support is handling redirects from the old phpBB URLs. We really wanted to keep all those forum links working, so I modified the import script to generate an Nginx configuration mapping the old URLs to the new ones. I also made an improvement to the Discourse string remapping utility to fix some of the BBCodes that were not rendering well. It has been convenient to contribute to Discourse because they use Ruby on Rails, just like we do for the main Pololu website.
