Pololu Blog » Posts tagged “community projects” »
Posts tagged “community projects” (Page 16)
You are currently viewing a selection of posts from the Pololu Blog. You can also view all the posts.
Popular tags: community projects new products raspberry pi arduino more…
ORBIS - Wooden Kinetic and Lighting Sculpture
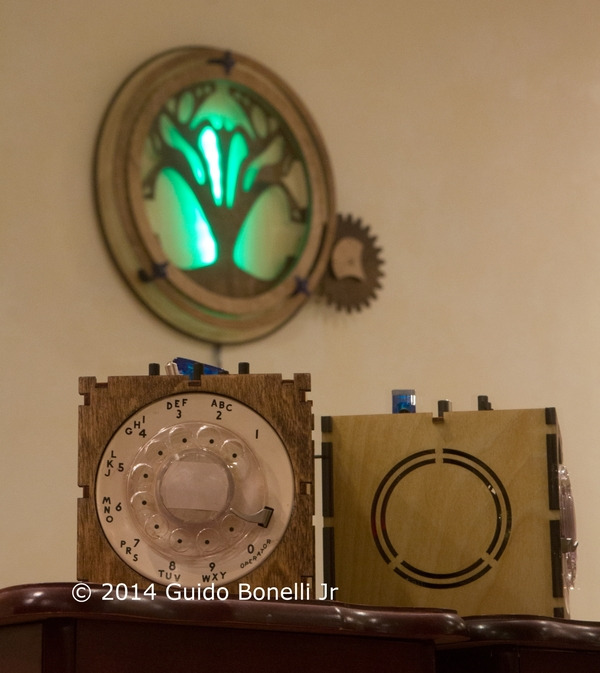
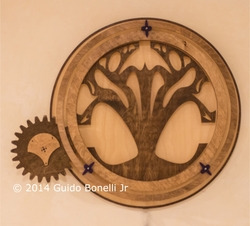
Guido Bonelli Jr. of Innovative Electronic Solutions LLC created the ORBIS Wooden Kinetic and Lighting Sculpture for a client’s home using our custom laser cutting services. ORBIS hangs at 24″ in diameter and is 3/4″ thick. We laser-cut the parts from 1/8″ and 1/4″ baltic birch plywood, which were stained before assembly.
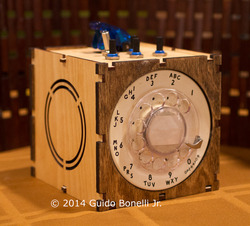
The separate control box and the wall unit each contain an Arduino Mega 2560 and an XBee module for wireless communication. The control box allows users to pick between two modes to control different features of the sculpture: kinetic mode allows users to adjust the rotating speed and direction of the two rings of the sculpture, and the color changing mode allows users to select various automated color patterns or control the red, green, and blue values individually to pick from 16 million colors.
|
|
For more information about ORBIS, check out the project’s web page.
Aluminalis, a sixteen-legged walking robot
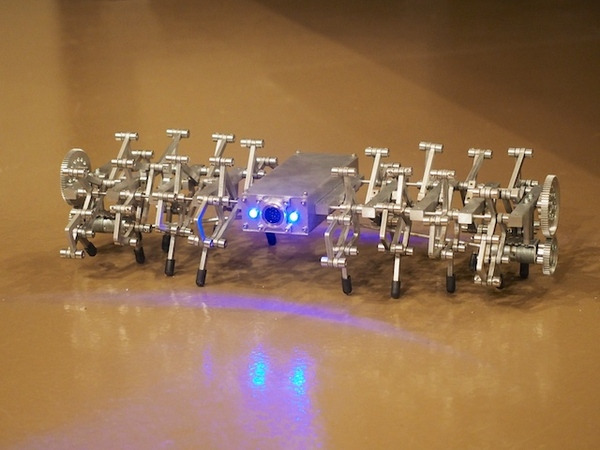 |
The Beatty family is at it again with their amazing robot builds (if you missed it, check out their Mars Rover). They completed Aluminalis, a sixteen-legged walking robot made mostly out of machined aluminum components.
The video above shows their magnificent sixteen-legged walking robot. It is all controlled by an Arduino Nano and uses Pololu 20D 73:1 metal gearmotors with matching brackets to move all of its aluminum legs.
For more information on Aluminalis, check out its build page.
Zumo tennis ball collector
Forum user patman715 posted to the forum about his modified Zumo Robot. The video above shows a Zumo with a two-servo gripper and arm capable of lifting tennis balls into an on-board storage bin. It is all controlled by an Arduino Leonardo, and two of our 100:1 micro metal gearmotors (we suspect they are HP versions) seem to give it plenty of oomph for carrying around the extra load.
Custom optical encoder signal processing board for the Zumo
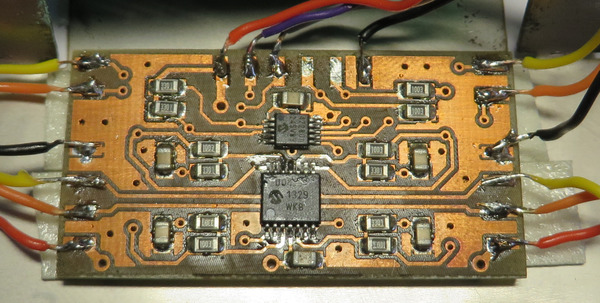 |
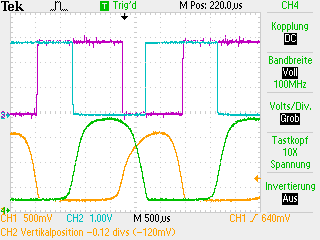
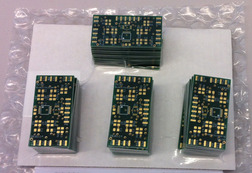
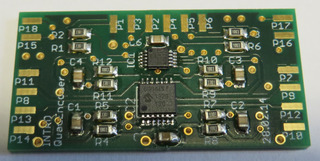
Erich, a professor at the Lucerne University of Applied Sciences and Arts in Switzerland, posted to our forum about a circuit he designed for the robots he’s building based on our Zumo chassis for his embedded system programming course. His Zumos are retrofitted with our micro metal gearmotors with extended backshafts and optical encoder board. The custom circuit he designed converts the analog output of our optical encoder boards to digital waveforms, which makes them more easily interpreted by microcontrollers and other devices. His board uses a Digital-to-Analog Converter (Microchip’s MCP4728) and four op-amps (Microchip MCP6004) to generate the modified quadrature output. The DAC can be controlled directly over I²C and can be calibrated automatically. After verifying that it works, Eric ordered a bunch more boards to use in his course:
We look forward to seeing how they work with the Zumos!
You can read more about Erich’s signal processing boards on this blog post from his website. You can follow the progression of the robots used in his course by visiting these forum posts:
March 2013: Zumo Robot with FRDM-KL25Z Board
September 2013: Zumo Robot with Pololu Plug-in Modules
October 2013: Zumo Robot with Pololu Plug-in Modules, assembled
December 2013: Zumo Tournament Videos
Nick Moxley's DIY racing simulator
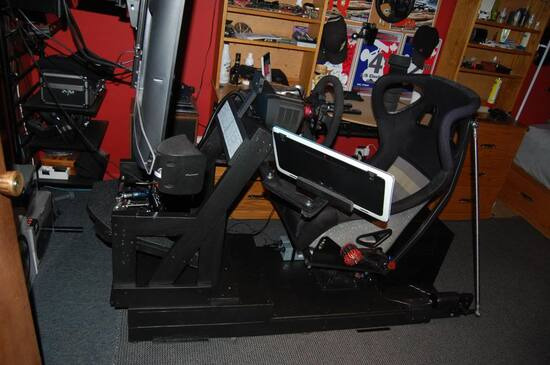 |
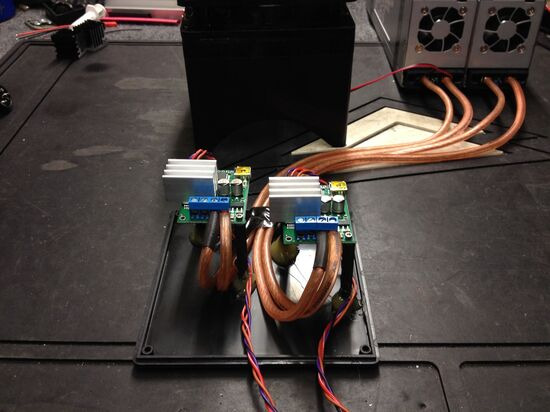
Nick Moxley made a DIY seat mover (with two degrees of freedom) and shared his build on our forum. This racing simulator is powered by two of our Jrk 12v12 USB Motor Controllers with Feedback and controlled from the popular XSimulator software. The picture below shows Nick’s jrk motor controllers, which he modified by adding heat sinks for additional cooling.
 |
This is one impressive build that I highly recommend checking out, especially if you are interested in making your own DIY racing simulator. You can find details about the parts he used (including where he found some of them) as well as many pictures documenting different parts of his build in Nick’s post on the Inside Sim Racing forum. A shorter version of this can be found in Nick’s post on our forum.
Tutorial: How to program a Zumo robot with Simulink
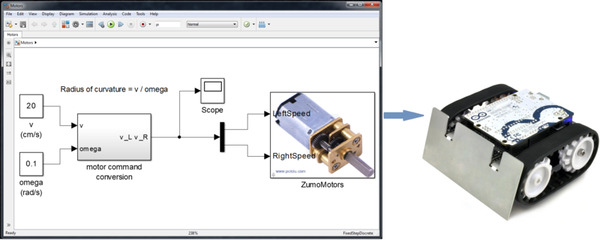 |
We posted about a Simulink library for the Zumo robot recently, and now a tutorial that teaches you how to use that library to program a Zumo robot with Simulink is available on the Adafruit Learning System. The guide walks you through setting up a Simulink model to make the Zumo follow a specific trajectory, then loading the generated code onto the Zumo to see it run.
Related post: Zumo robots programmed with Simulink by MathWorks
Zumo robots programmed with Simulink by MathWorks
MathWorks, the producer of technical computing software including MATLAB and Simulink, has released a Simulink library for the Zumo robot. The library provides blocks that represent all of the sensors and peripherals on our Zumo robot for Arduino, making it possible to program an Arduino-controlled Zumo robot using Simulink.
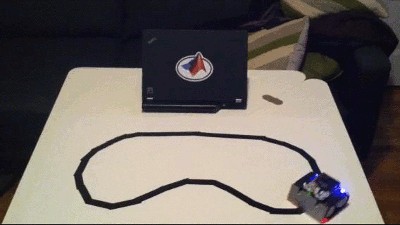
These Simulink-programmed Zumo robots have made a few appearances on MathWorks’ MakerZone blog. This article discusses the math behind programming a robot to follow a line, modeling the control system as a harmonic oscillator.
 |
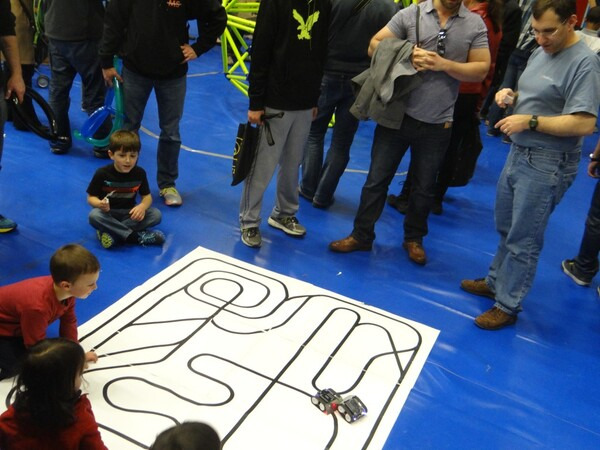
MathWorks also used several Zumos as part of a demonstration at the Robot Zoo, part of the 2014 Cambridge Science Festival. You can read more about their Zumo demonstration, as well as their other robot exhibits, in their recap of the event.
 |
Related post: How to program a Zumo robot with Simulink
Jamee's dead reckoning robot
Several Pololu employees made robots for the LVBots dead reckoning competition. Unfortunately, my robot didn’t work enough in time for the competition, but perhaps the description of my robot might give you ideas for your own dead reckoning robot. Continued…
MiniTrack three-sided tracked robot
Let’s Make Robots user rhughes posted about MiniTrack, his custom-built tracked robot that features the ability to drive on each of its three sides. It uses our 30T track set and an extra pair of our 42×19mm sprockets. The tracks are driven by a pair of medium power 150:1 micro metal gearmotors, which are controlled by a DRV8833 dual motor driver carrier. MiniTrack also uses two Sharp GP2Y0D805Z0F digital distance sensors for object avoidance:
You can find pictures of various stages of the assembly of this robot and learn what else was involved in making it inside rhughes’s post.
PID line follower with 5" robot chassis
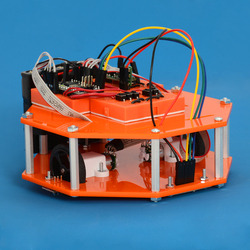
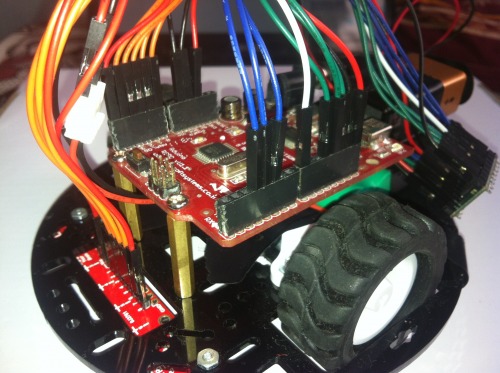
This PID line follower, originally featured in this Let’s Make Robots post by user Enigmerald, uses our 5" Robot Chassis along with 30:1 MP micro metal gearmotors, extended brackets, and our 42×19 mm wheels. Our QTR-8RC Reflectance Sensor Array is used to sense the line and our TB6612FNG carrier, along with an Arduino-compatible controller, is used to control the motors. A diagram of how everything is connected and the code for the robot are available in Enigmerald’s post. The post also has a link to a basic tutorial on PID tuning using the QTR array.
 |
