Pololu Blog »
Posts tagged “balboa”
You are currently viewing a selection of posts from the Pololu Blog. You can also view all the posts.
Popular tags: community projects new products raspberry pi arduino more…
New product: 5-Channel Reflectance Sensor Array for Balboa 32U4 Balancing Robot
|
|
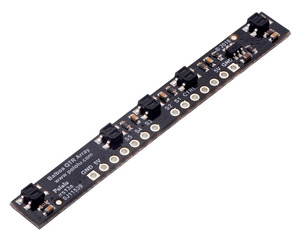
We now have a 5-Channel Reflectance Sensor Array designed specifically for use with the Balboa 32U4 Balancing Robot. The array mounts to the Balboa 32U4 control board and provides an easy way to add line sensing to the Balboa (but following a line while balancing is actually kinda hard—and that part is up to you, should you accept the challenge).
The array features five IR emitter/phototransistor pairs with dimmable brightness control similar to our line of QTR reflectance sensors.
As with all of our new products this year, we are offering an introductory special. The sensor by itself is already inexpensive, so just discounting that did not seem exciting enough. To make it more celebratory, we decided to offer a special promotion for the whole Balboa package: you can get a Balboa 32U4 robot kit with motors, wheels, and the new 5-Channel Reflectance Sensor Array for just $79! To get the discounted price, add this special promotion product bundle and coupon code BALBOAREFLECT to your cart. Offer is limited to the first 100 customers, limit one per customer. If you already have a Balboa, or if you want different motors or wheels than what’s included in the bundle, you can use coupon code BALBOAREFLECT2 to save 35% (limit 2 per item).
New product: Stability Conversion Kit for Balboa (and some memories of my first robot)
I don’t blame you if you have no idea why the new Stability Conversion Kit for Balboa is so exciting. With a name like that, you probably couldn’t even guess what it is, let alone why it’s exciting. But let me keep you guessing while I share a little about the first robot I built, which is kind of a hint. It’s pure coincidence that I happened to get reunited with it just as we were preparing to release this new product I’m announcing here.
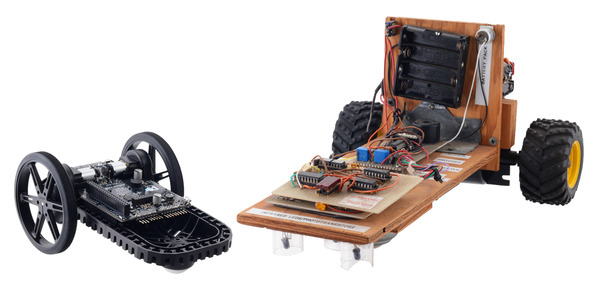
I know for sure that I built my first robot in eighth grade, for the science and engineering fair for which everyone in my school had to do a project, which means I must have started working on it in 1992 when I was twelve years old. The better projects in my school went on to the local, island-wide science fair in Hilo, and the better projects there went on to the state fair in Honolulu. (I was initially not among those chosen to go on from the Big Island, I think because of some judging process mistake, but my science teacher and probably others lobbied to get me there.) There was time between the different stages, so I kept working on it through the spring of 1993, which would now make it over 25 years old. I probably added the labels in later stages in response to some advice to better present what I made.
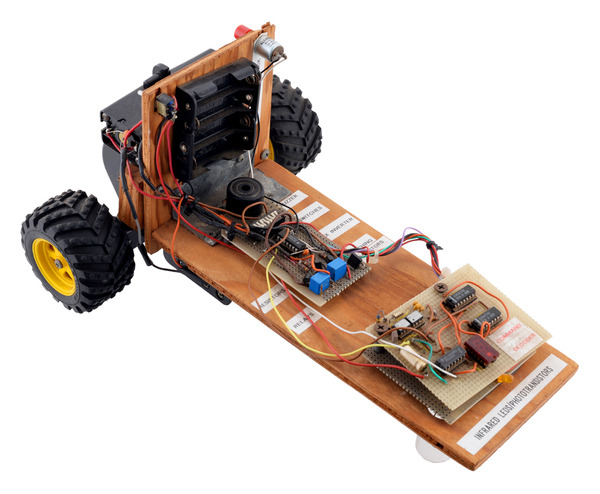 |
Jan’s first robot, “Robot Line Tracker,” built 1992-1993. |
|---|
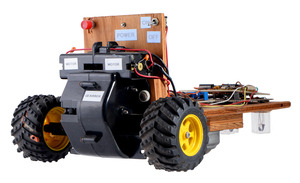 |
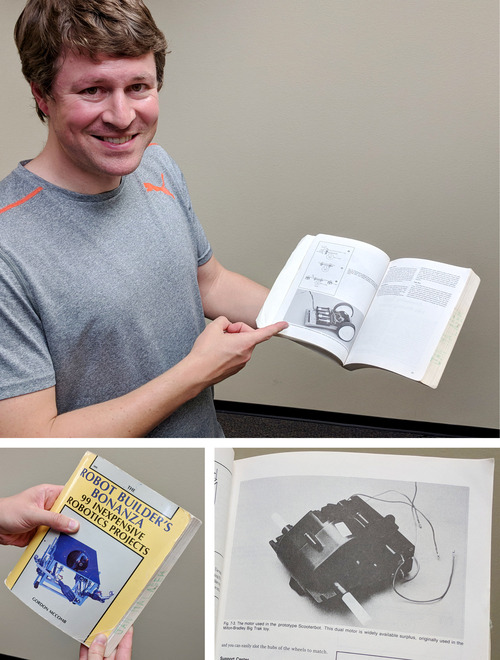
When Paul saw the robot for the first time in my office this morning, he immediately recognized a piece of it: “That looks like the gearbox from my first robot!” I was a bit skeptical, but he immediately backed it up by pulling out Gordon McComb’s Robot Builder’s Bonanza and showing me the project he had followed from the book. (In another amusing twist, it turns out that the copy of the book Paul had in his office is my old book, though I hadn’t gotten it until high school, and I didn’t realize until today that the gearbox in the book was the same one I had used.)
 |
I’m pretty sure I got the gearbox from Edmund Scientific, because their printed catalogs and Radio Shack (nearest one in Kona, 40 miles away) were initially my only sources for anything electronics-related. The wheels were from some broken radio control toy. The ball caster was long a point of frustration. In earlier versions of the robot, I had tried more common swivel casters and then a ball caster I made from a ping pong ball in a toilet paper tube, but neither was very reliable. I was very happy to eventually find the metal ball caster that I used in the final version, which you can see here along with the three IR LED and phototransistor pairs used for detecting a two-inch white line on a black background:
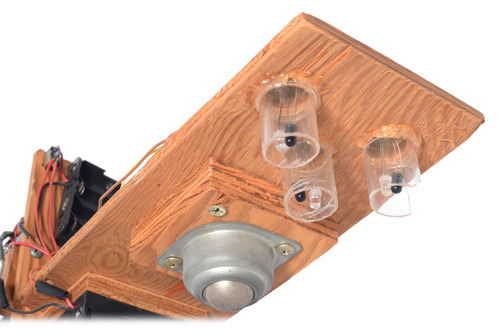 |
That heavy, noisy caster was not ideal, but at least it didn’t jam at a bad angle like the swivel caster or collapse like my ping pong ball and cardboard creations. I am mentioning all these details because it was so much work just to put a basic chassis together, without even getting to the electronics part. The electronics are not something I want to cover in this blog post, but I should mention that I was very fortunate to find a mentor at the Canada-France-Hawaii Telescope headquarters right across the road from my school. CFHT had a nice electronics lab stocked with all kinds of components they just gave me and tools they let me use, and I got lots of help from John Horne when I was in 8th grade and then from many others there while I was in high school.
So, to bring this back to Pololu’s new product: the Stability Conversion Kit for Balboa is primarily a ball caster attachment for the Balboa chassis:
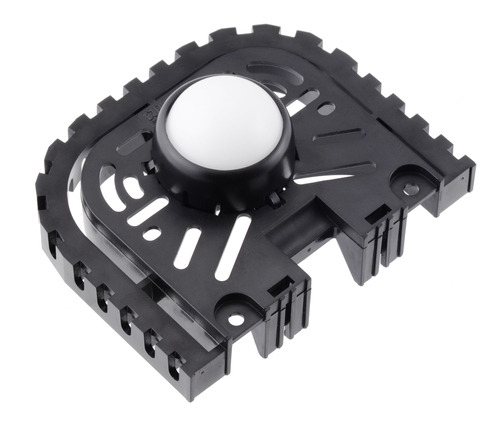 |
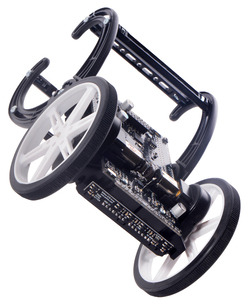
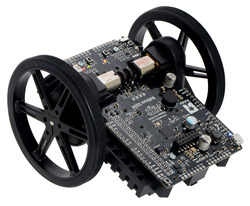
That might sound pretty basic, but using it fundamentally transforms the Balboa into a very different kind of robot. As a reminder, Balboa is a two-wheeled, balancing robot:
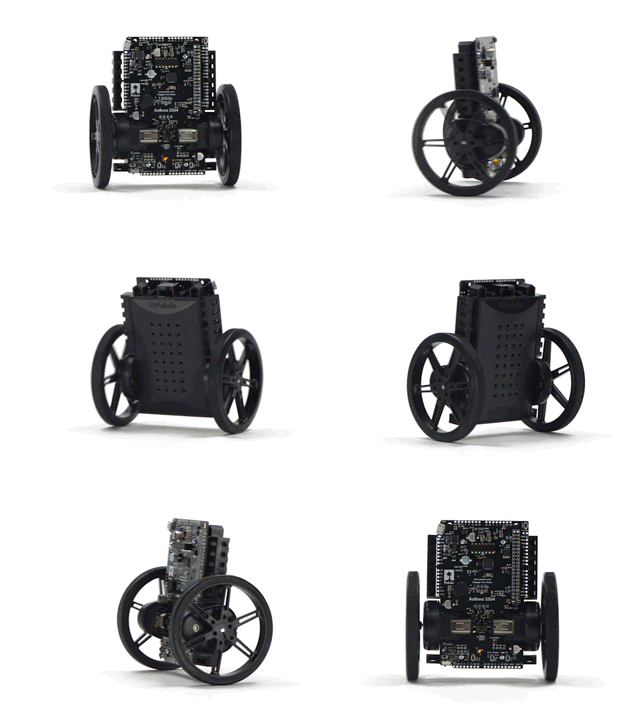 |
You can read more about the balancing robot in my blog post introducing the Balboa robot. It’s a very capable platform that we spent many years developing, but making a balancing robot is not easy, and it’s probably not the best type of robot to build as your first robot. We did not even release the chassis as a separate product independent of electronics because it would be difficult to do much with it. The new stability conversion kit completely changes that. With the ball caster, the chassis can be used as a much more beginner-friendly differential-drive mobile base with three points of contact with the ground:
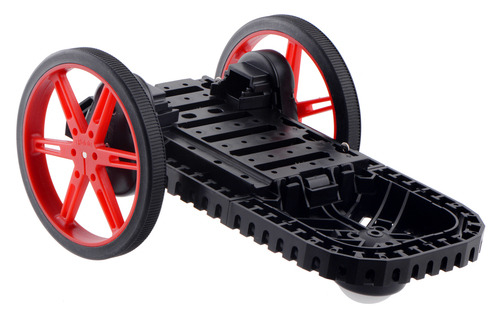 |
We offer the ball caster attachment by itself, for those who want to use it with a complete Balboa 32U4 robot kit to immediately get up and running without developing their own electronics. We also now offer the Balboa Chassis with Stability Conversion Kit, which includes all the mechanical components for the chassis other than wheels and motors:
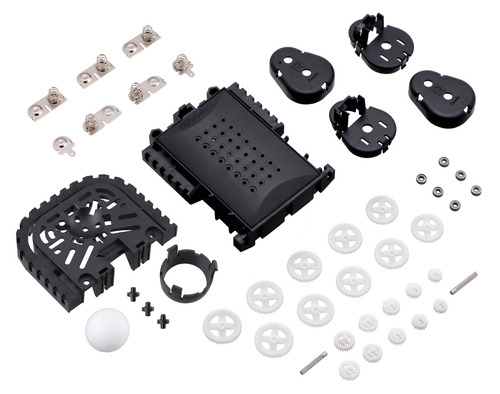 |
Balboa Chassis with Stability Conversion Kit (No Motors, Wheels, or Electronics). |
|---|
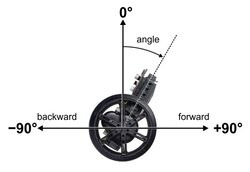
As with the original Balboa 32U4 kit that includes electronics, we deliberately do not include motors and wheels so that you can pick your own to customize the look and performance of your robot. This diagram shows the possible chassis angles with four different wheel sizes ranging from 60 mm through 90 mm:
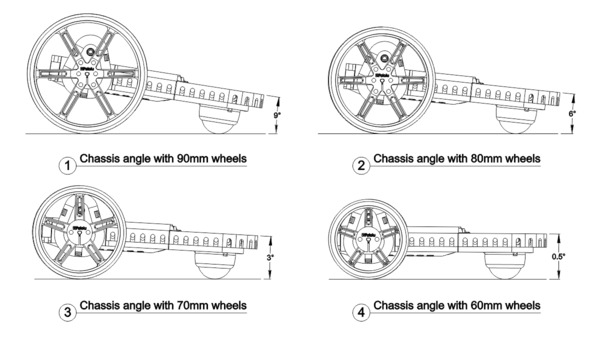 |
Variety of chassis angles available when using different wheels on the Balboa Chassis with Stability Conversion. |
|---|
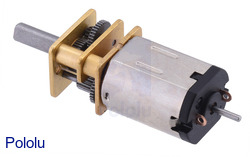 |
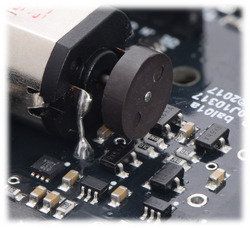
Micro Metal Gearmotor HPCB with extended motor shaft. |
|---|
For motors, we recommend our 30:1 HPCB, 50:1 HPCB, or 75:1 HPCB micro metal gearmotors with extended back shafts that can be used with encoders. Even if you do not plan on using encoders on your robot at first, it’s nice to have the option down the road.
And options are what our chassis kits are all about, whether you select our Zumo tracked chassis, Romi round chassis, or now the new Balboa chassis. One of my guiding principles in developing our robot platforms is that I want to help you, our customers, build your robot, not just the particular one we designed.
I realize there are many kids interested in robotics who are not as fortunate as I was to have Canada-France-Hawaii Telescope headquarters across the street from my middle school, and that for many of them (and their parents and teachers), all of the options we offer can be overwhelming. Over the next several years, we will be working on sensors and other modules specifically for the Balboa, along with combination bundles and tutorials that will make Balboa a platform that students can begin with as a basic first robot in middle school and keep expanding through higher levels of their education.
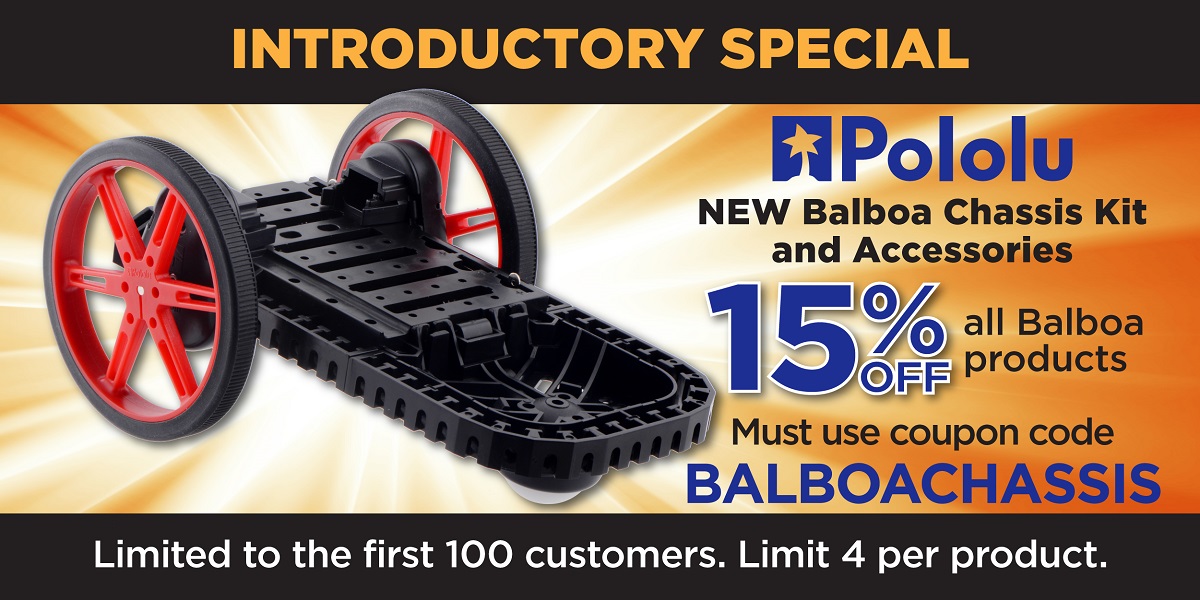
I’ll end this product introduction as I have all my product announcements this year, with an introductory special to encourage you to try the Balboa chassis out for yourself. Be among the first 100 customers to use coupon code BALBOACHASSIS (click to add the coupon code to your cart) and get 15% off on Balboa-related products (limit 4 per product).
We're having a Pi Day sale, and it starts tonight!
Pi Day is nearly upon us, and to celebrate, we are discounting a variety of exciting products that can be loosely associated with “Pi”. The sale starts tonight at 8:36 PM PDT and runs through the end of the 15th. And in case you are wondering about the strange start time, that makes the sale 3.14159 days long in yet another tribute to this wonderful irrational number (if it bothers you that 3.14159 is not irrational, you can pretend that the sale lasts exactly π days).
Check out the sale page for more information (and check out piday.org for more information on Pi Day)!
New Pololu Balboa T-Shirts!
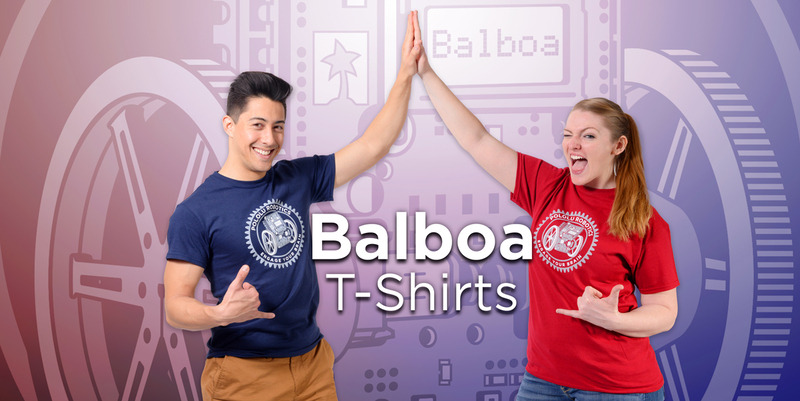 |
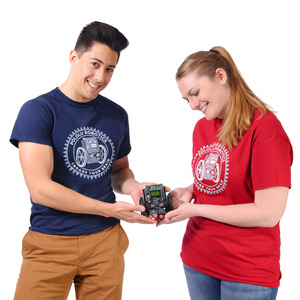
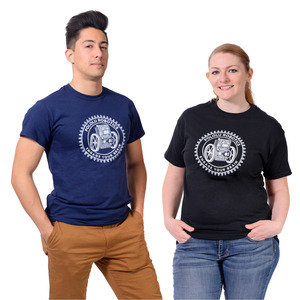
Our new Balboa T-shirts are here! They feature our latest robot, the Balboa 32U4 balancing robot, within an enlarged outline of the 43-tooth gear option for the Balboa gearbox, accompanied by our call to “Engage Your Brain”. These pre-shrunk cotton shirts are available in several colors (navy blue, cardinal red, or black) and a range of youth and adult sizes.
|
|
|
How to make a Balboa robot balance, part 5: popping up and driving around
This is the fifth and final post in a series about how to make a Balboa 32U4 robot balance. In earlier posts I covered everything you need to get the robot balancing. In this post I will talk about how to get your Balboa to perform some fun and challenging maneuvers.
If you have been following along, you should now have your robot using its inertial sensors, motors, and encoders together to balance in place. Now it’s time to get it moving! Our first challenge will be to get it to “pop up” from a resting position into a balancing position. Then I will show how you can get the Balboa to drive around while balancing. Continued…
How to make a Balboa robot balance, part 4: a balancing algorithm
This is the fourth post in a series about how to make a Balboa 32U4 robot balance. In earlier posts I covered the basic sensors and mechanical parts used for balancing; in this post I will show you how to put everything together to make the robot actually balance.
From earlier posts we have obtained six basic variables for use in balancing: Continued…
How to make a Balboa robot balance, part 3: encoders
This is the third post in a series about how to make a Balboa 32U4 robot balance. Last week I talked about inertial sensors, especially the gyro. In this post I will talk about the Balboa’s built-in encoders, which allow accurate measurements of motor speed and distance.
To get your Balboa to balance, you will soon need to create a balancing algorithm, a program that takes sensor input and computes the appropriate motor speed settings to keep the robot upright. So far our only inputs, both from the gyro, are the rate of rotation and current angle of the robot. These are not quite enough to make a good balancer. To see why, suppose that your program tries to balance by holding the angle at a constant 90°. If your definition of 90° is even slightly off-balance, the robot will need to keep accelerating, driving faster and faster to maintain it, until it reaches top speed or hits an obstacle. You might be able to account for this by using the motor output settings themselves as an input to your algorithm, but this is difficult, especially at the low speeds used for balancing. Also, even if you can avoid accelerating, your robot will gradually drift in one direction or the other. The Balboa’s encoders are valuable additional sensor inputs that allow you to measure how fast the wheels are actually turning, so you can directly control acceleration and drift. As a bonus, encoders are great for driving straight, precision turns, and navigation. Continued…
How to make a Balboa robot balance, part 2: inertial sensors
This is the second post in a series about how to make a Balboa 32U4 robot balance. Last week I talked about selecting mechanical components. In this post I will cover the inertial sensors included on the Balboa’s control board and how to use them in your code.
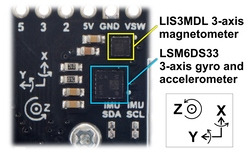
The key to Balboa’s balancing ability is the built-in ST LSM6DS33 IMU chip, which combines a 3D gyroscope and a 3D accelerometer. The Balboa also includes an ST LIS3MDL 3-axis magnetometer. Both sensors are connected to the AVR via I²C, giving it access to a total of nine sensor channels. These nine channels can be used in software to make an AHRS (attitude and heading reference system), a system that gives the robot a sense of its orientation in three dimensions. AHRS software is particularly important in aviation/drone applications, but for basic balancing, you don’t need anything that complicated. In fact, a single gyro channel is enough to determine the robot’s angle of rotation relative to vertical. The gyroscope’s y-axis channel measures the Balboa’s forward/backward rate of rotation; that is the channel we will be looking at here. Continued…
Beefy arms for Balboa balancing robot
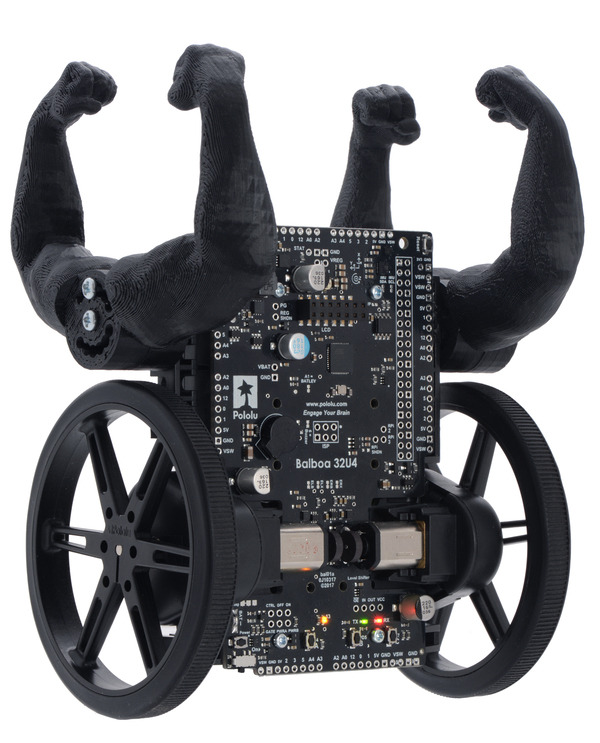
If you’re following Paul’s blog series about getting your Balboa robot balancing, you’ll probably want something to protect it when it falls. When I was working with my Balboa, I got a set of prototype arms that our mechanical engineers have been developing, but I felt they were missing a little something. So instead, I took a Beefy Arm Starter Kit from Thingiverse and used OpenSCAD to add adjustable mounting hubs to the arms. I printed two sets of arms with our RigidBot 3D printer and mounted them to the side rails on the Balboa chassis using 25 mm M3 screws and M3 nuts. They’ve been great for keeping obstacles and the floor at arm’s length from my electronics while I drove the robot around with an RC transmitter or through a Raspberry Pi web interface (example code coming soon!).
You can find these beefy arms for the Balboa on Thingiverse if you want to try 3D printing your own. The OpenSCAD script is also available there in case you want to customize your arms.
How to make a Balboa robot balance, part 1: selecting mechanical parts
This is the first post in a series about how to make a Balboa 32U4 robot balance. Today I will talk about selecting mechanical parts for your Balboa. We offer a variety of gearmotors and wheels that work with the Balboa, and the Balboa kit includes five different gear ratios for the external gearbox, so even without considering non-standard modifications, there are many possible configurations of the robot. In this post I will give you some guidance about choosing the right parts. Continued…
