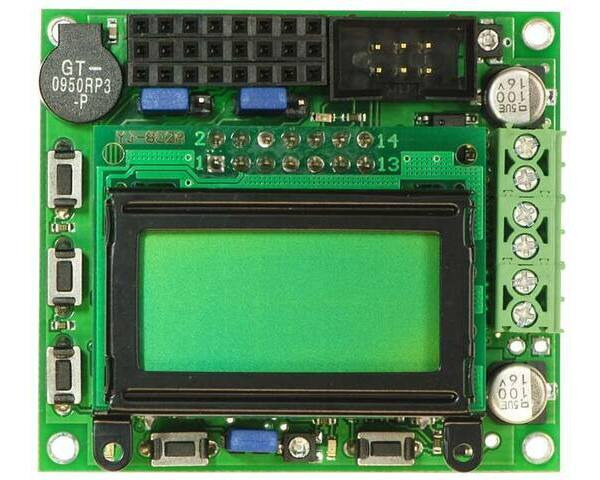
Orangutan LV-168 Robot Controller
The Orangutan LV-168 is a full-featured controller for low-voltage robots. Thanks to a step-up voltage regulator, you can power this Orangutan with two or three 1.2-1.5 V batteries while maintaining 5 V operation for its Atmel mega168 AVR microcontroller and your sensors. A pair of discrete, low-voltage H-bridges deliver up to 2 A continuous per channel to get the most power out of low-voltage motors.
| Description | Specs (17) | Pictures (5) | Resources (25) | FAQs (3) | On the blog (1) | Distributors (0) |
|---|
- On the Orangutan LV-xx8 and SV-xx8, there seems to be a “normal” power connection and an “alternate” power connection. Can you explain what the “alternate” is for?
- The two power connection options are just different physical options for connecting to the same electrical nodes. For instance, many small battery packs come with a 0.1" female connector that could be plugged into a male header soldered into the alternate power location. For other power sources, such as a battery holder with wire leads, the screw-style terminal blocks might be a better option.
- Are the motors and microcontroller on the Orangutan LV-168 powered off the same battery? Does that mean the Orangutan LV-168 can only handle using up to 5.5 V to drive motors? That seems like an odd limitation given the relatively higher-current motor drivers you are using.
- The Orangutan LV-168 uses the same power source for both motors and logic. The unit is specifically designed for low-voltage operation, with a step-up regulator for getting 5 V to the logic and extra low-voltage MOSFETs for the power circuitry. The controller is targeted at low-voltage toy motors such as those in the Tamiya gearboxes, which do draw several amps at low voltages.
- My Orangutan LV-168 came with a small bag of capacitors … what are these for? Are they 0.1 uF caps for motor suppression? Do I need to solder them onto the board somewhere?
- The capacitors are indeed for motor noise suppression. They are 0.1 uF caps, and we provide six of them so that you can put three on each motor: one across the leads and one from each lead to the case. It might not be necessary to put all three on some motors, but it is crucial on some noisy motors such as those in the Tamiya educational kits.


