Pololu Blog »
Web-based control of a telescope using Raspberry Pi
 |
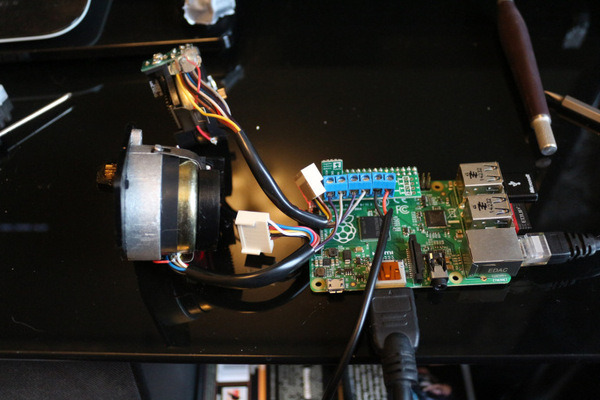
@MarcisShadow is working on a project using a Raspberry Pi with a Pololu DRV8835 Dual Motor Driver Kit for Raspberry Pi to control a Celestron NexStar GoTo Mount, allowing web-based control of a telescope. He also uses a Pololu 5V Step-Up/Step-Down Voltage Regulator S7V7F5 connected to the motor driver to power the Raspberry Pi from the motor power supply.
The project is being documented in a multi-part series on DirtyAstro.com. Part 1 covers the electronics that come with the telescope mount, part 2 is about assembling and testing the DRV8835 driver kit and motors, part 3 tackles setting up the Raspberry Pi and using an SSH client (PuTTY) to connect to it remotely via a PC, and part 4 is about getting Node-Red running to program the Raspberry Pi graphically using a web interface from any machine on the network.
He is not finished with the project, but I have a couple of suggestions for him or anyone doing something similar: First, since his 12 V supply exceeds the maximum operating voltage of both the motor driver (11 V) and the regulator (11.8 V), I would recommend using different ones. Keep in mind that “wall-wart” DC power supplies, especially older transformer-based ones, can have a voltage significantly higher than the rated voltage. Second, a board running a full operating system is usually not great for timing-sensitive operations like counting encoder ticks. If it can’t keep up with the pulse rate, I would recommend using a secondary microcontroller for the encoders. One possibility would be to use the A-Star 32U4 Robot Controller SV with Raspberry Pi Bridge, which incorporates a more appropriate 5.5 V – 36 V regulator, an Arduino-compatible microcontroller, and dual motor controllers.


