Support » Building Line Following and Line Maze Courses »
3. Building the Line-Following Course
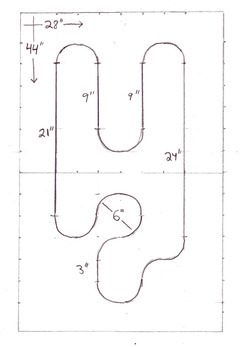 |
A sketch of the course that we will be building. |
|---|
Step 1: Plan your course.
Sketch out your course on a piece of paper. We recommend including precise dimensions so that you can make multiple copies of the course, publish the plan on your website, etc. You should take into account the dimensions of the posterboard sheets that you will use to build the course and the circular object that you will use to trace arcs.
The picture at right shows a plan for a line course on two 22"×28" posterboard sheets. Leaving borders of 4" and 5" on the long and short sides brings the usable area to 36"×18", which we divided into a grid with a 3" spacing. You can see faint marks around the edge of the sketch indicating the spacing of the grid. The 3" spacing nicely matches the 6"-diameter plastic lid that we will use to draw circles.
Step 2: Pencil the course onto the posterboard sheets.
 |
Draw straight lines with a pencil and straightedge. |
|---|
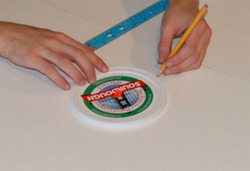 |
Drawing arcs and circles with a handy plastic lid. |
|---|
The next step is to transfer your sketch onto the posterboard. We started by carefully marking our 3" grid around the edge of the sheets with a ruler and a pencil, then measuring inward to mark key points on the path.
Since all of our straight segments are multiples of 3" long, and the arcs are 90°, 180°, or 270°, the beginning and end of every straight segment and arc is on a grid point. Centers of circles used to make arcs also fall on grid points.
Lightly pencil in the complete path of your course. Draw straight segments of the path against the ruler, and use your circular object to draw accurate circular arcs.
Step 3: Stretch the electrical tape along the pencil line of the first sheet of posterboard.
This is the step where it is important to be as neat as possible, so that your final course will look beautiful. The key is to always keep the electrical tape stretched out tightly in a direction tangent to the path, so that when you press it down onto the posterboard, it will make a consistent, clean, line.
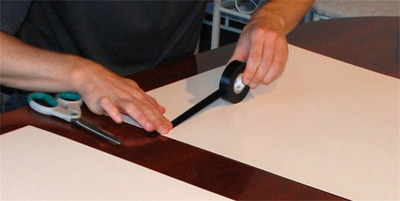 |
Stretch out the tape to make a straight line. |
|---|
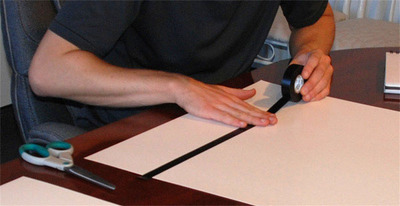 |
Press the tape down to the posterboard. |
|---|
When going around the curves, it is particularly important to stretch the tape tightly. To make sure you are stretching it in the right direction, visualize a line drawn from the point where the tape separates from the posterboard to the center of the circle that you are following. This line should always be at 90° to the direction that the tape is stretched. To avoid forming creases, make sure that you are stretching the outer edge of the tape to form the curve, instead of compressing the inner edge.
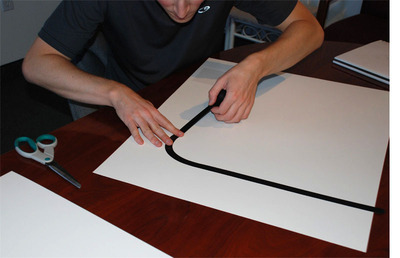 |
Stretch the tape very tightly, following the penciled curve. |
|---|
Keep following the curves and straight segments until you have traced out this half of the course. Electrical tape is forgiving: if you make a mistake, you can carefully pull it off of the posterboard and try again.
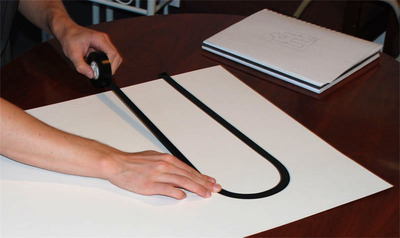 |
Continue stretching the tape into the second straight segment. |
|---|
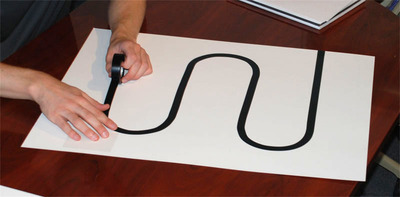 |
Finish the rest of the line on this sheet in the same way. |
|---|
Step 4: Finish the ends.
Cut off the end of the tape. To make the line go cleanly to the end of the sheet, tuck the last inch or so under the posterboard:
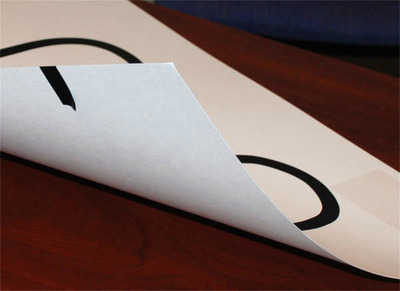 |
Tuck the tape under to make a smooth end. |
|---|
Step 5: Apply tape to the other sheet.
You should be able to create the line on the second sheet of posterboard in the same way as the first. This side of our course has a nice 270° curve that has now taken shape; look at how close the lines get before and after this turn. We are using 6" arcs; if we used smaller dimensions, the lines might be too close for a robot to safely follow.
 |
Construct the second half of the line course in the same way. |
|---|
Step 6: Assemble your course and put a robot on it.
You will probably find it necessary to connect the two halves of the course with masking tape or some kind of clips; otherwise, the sheets will gradually move apart as your robots zoom around the curves.
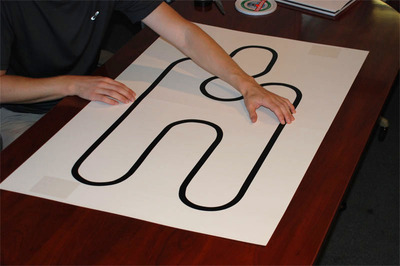 |
Put the pieces together to make a finished course. |
|---|
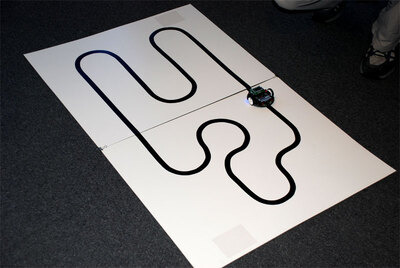 |
3pi on the line course, ready to race. |
|---|
Your course is now complete! It’s perfect for racing the 3pi robot or your own custom robot based on a QTR sensor array. Example line-following code for the 3pi is included with the Pololu AVR C/C++ Library and discussed in detail in Section 7.a of the Pololu 3pi Robot User’s Guide.


