Pololu Blog »
Pololu Blog (Page 42)
Welcome to the Pololu Blog, where we provide updates about what we and our customers are doing and thinking about. This blog used to be Pololu president Jan Malášek’s Engage Your Brain blog; you can view just those posts here.
Popular tags: community projects new products raspberry pi arduino more…
Pololu and LVBots CES Open House 2016
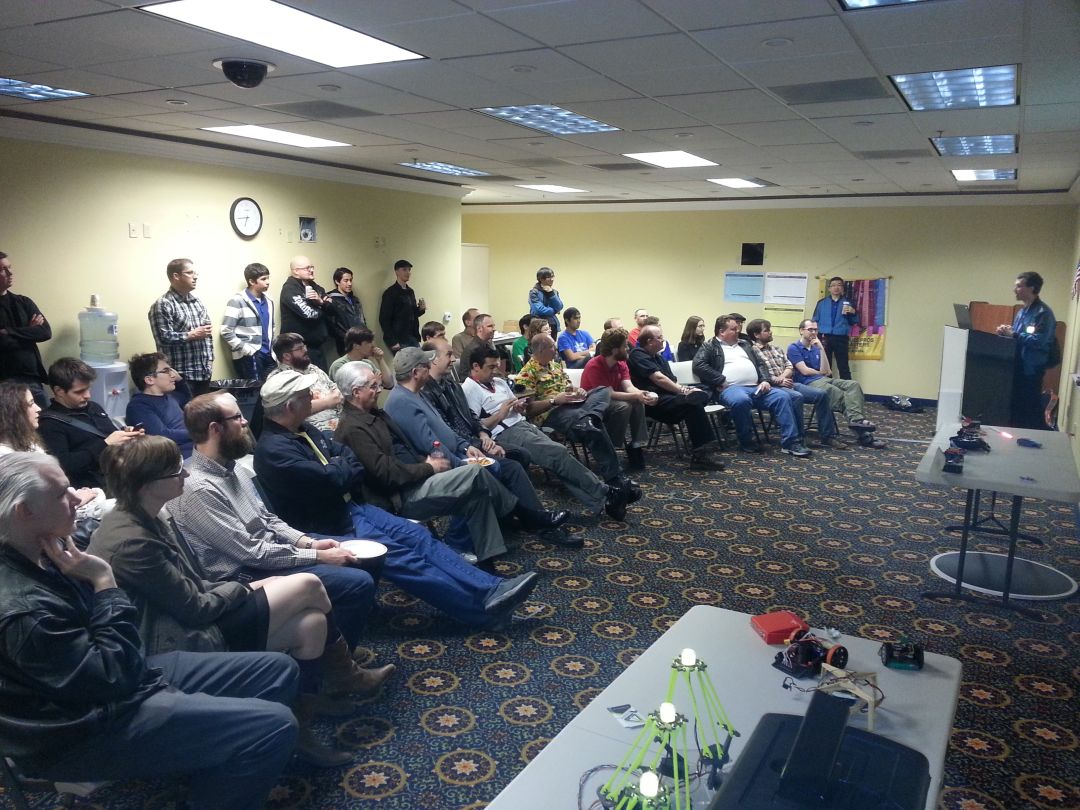 |
Are you attending CES or in Las Vegas this Thursday evening? You can join Pololu and LVBots on January 7 any time from 5 p.m. to 8 p.m. for CES Open House 2016! Like last year, LVBots members will be showcasing their robotics and electronics creations, Pololu will be giving tours of our manufacturing and other operations, and you can present your company or your projects. We will provide pizza. Registration and other details are on the LVBots Meetup page.
VertiGo robot drives up walls with propellers
VertiGo is a novel robot designed with one main goal: the ability to drive on floors and walls, even if the walls aren’t perfectly flat. To accomplish this, it uses tiltable propellers for propulsion rather than motorized wheels. The propeller tilting is controlled by two Pololu Jrk 21v3 USB motor controllers with feedback. Students at ETH Zurich made this robot in collaboration with Disney Research Zürich.
You can visit the VertiGo website for pictures and project news.
Related products

Closed December 25 and January 1
 |
We will be closed for Christmas on Friday, December 25 and for New Year’s Day on Friday, January 1, so orders placed after 2 PM Pacific Time on the 24th or 31st will be shipped on the following Monday. Additionally, FedEx Ground does not ship on the 24th (tomorrow).
Merry Christmas and happy New Year!
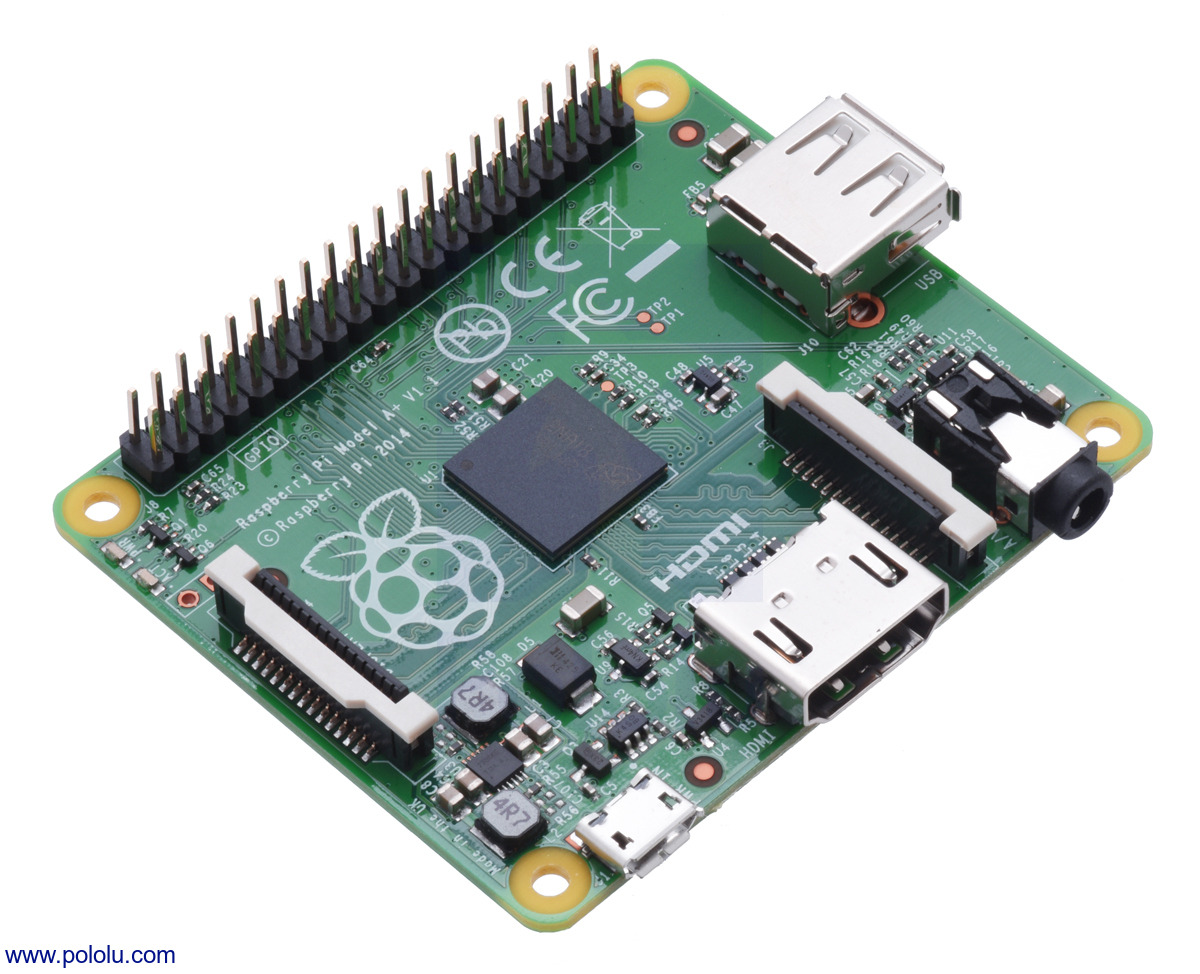
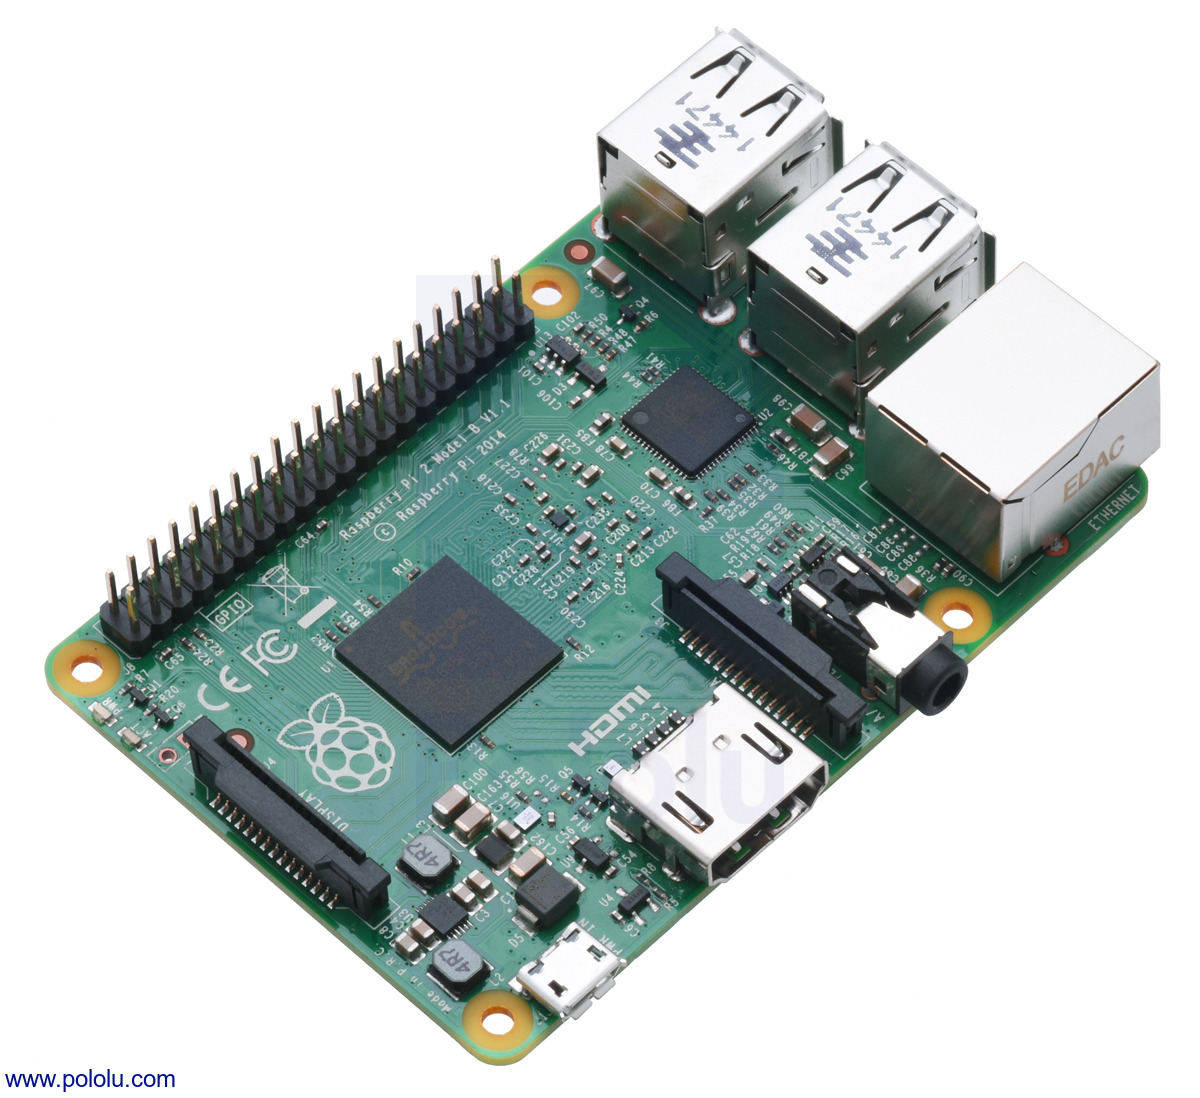
New products: Raspberry Pi Model A+ and Raspberry Pi 2 Model B
We now have three "Pi"s! …No, I’m not talking about our 3pi robot.
 |
In addition to the Raspberry Pi Model B+ we’ve been carrying, we now offer the smaller Raspberry Pi Model A+ and the more powerful Raspberry Pi 2 Model B as well. Check out their product pages for details about each version and how they compare to each other.
|
|
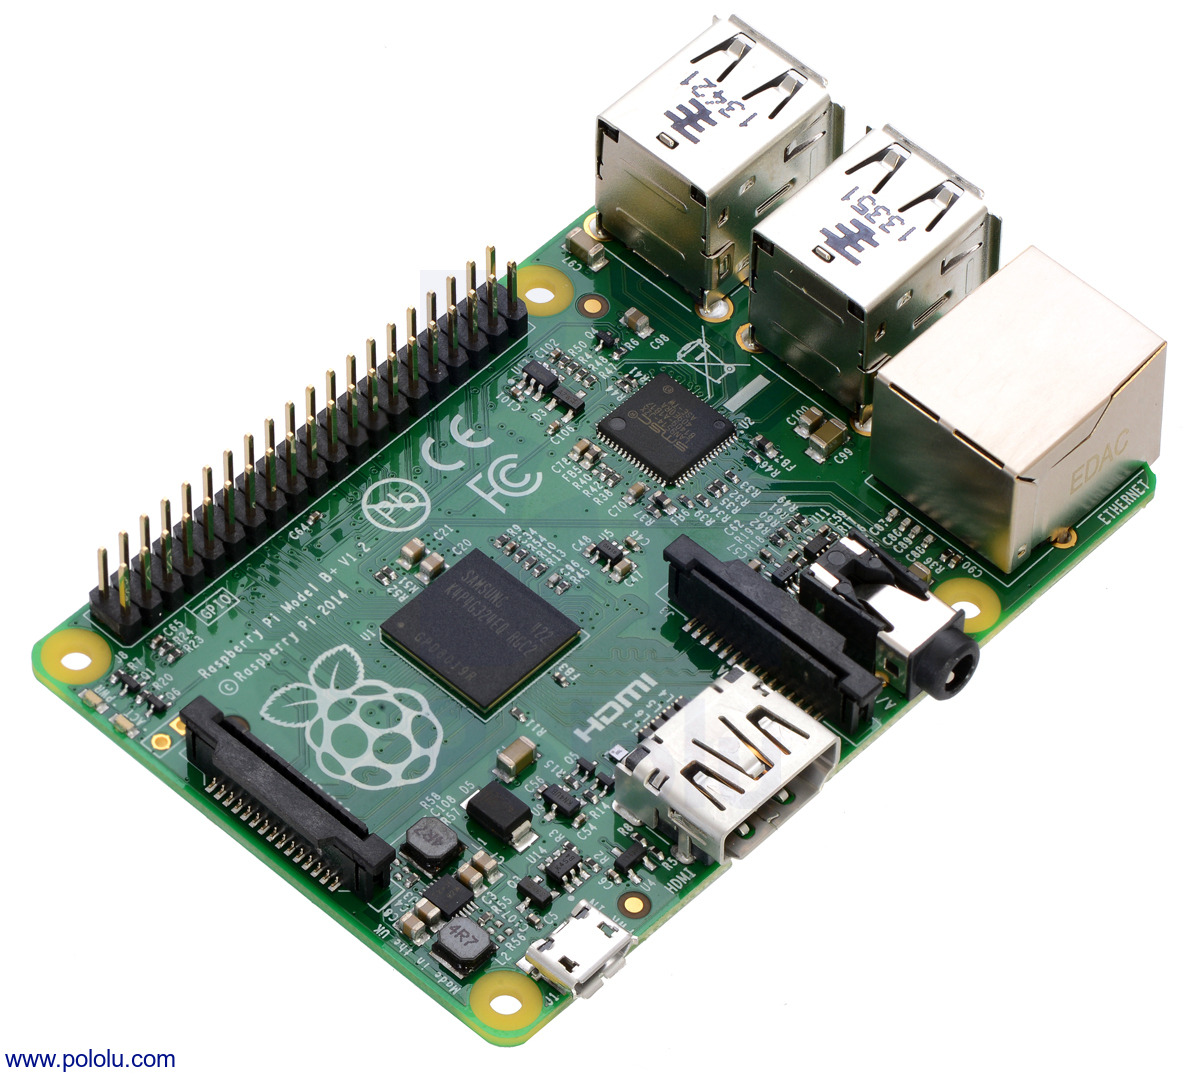 |
Raspberry Pi Model B+. |
|---|
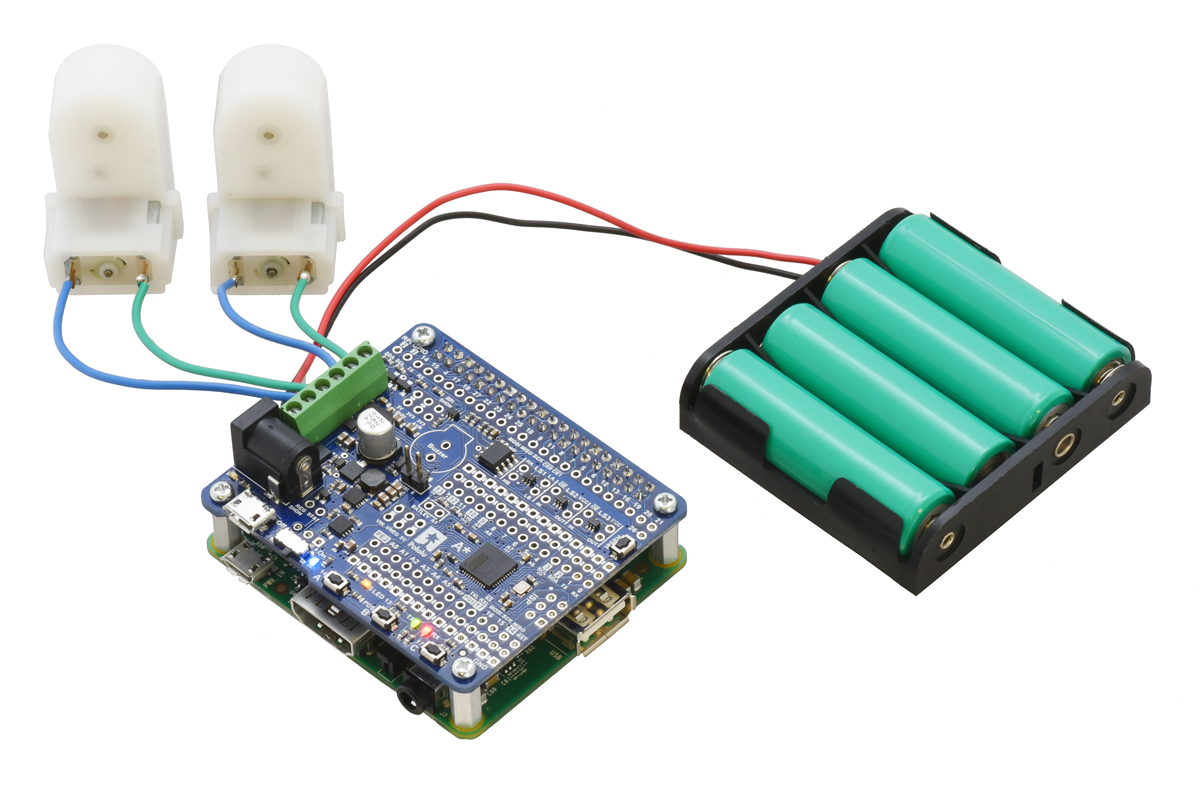
As with the B+, the A+ and 2 B are compatible with our Raspberry Pi expansion boards, including our A-Star 32U4 Robot Controller with Raspberry Pi Bridge and our MC33926 and DRV8835 motor driver add-ons.
 |
Related products


The Purdue Tuggiteers' spring 2015 senior design project
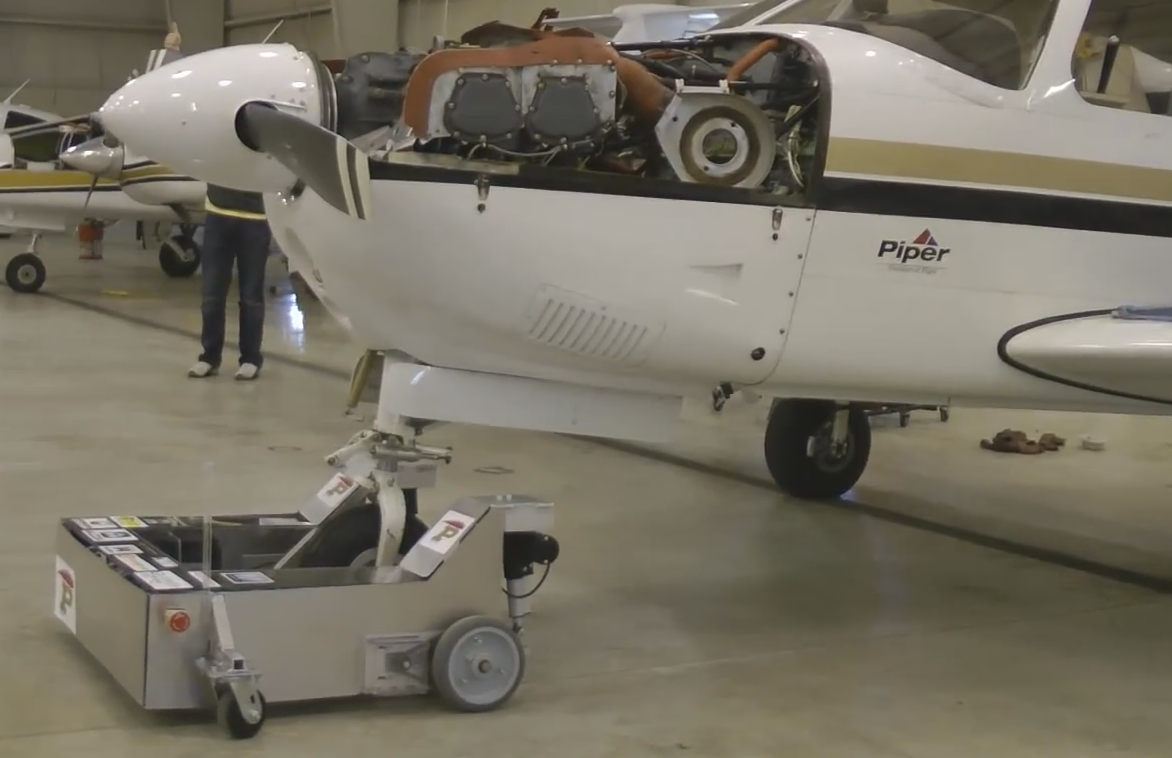 |
For their senior design project in the spring semester of this year, a team of Mechanical Engineering students (the Tuggiteers!) from Purdue made a remotely-controlled plane-towing vehicle that uses one of our step-up/step-down regulators. The team shared with us this video of their final review, which demonstrates the vehicle approaching, connecting to, and towing a single-engine aircraft:
This next video captures their vehicle’s first test. An on-board camera allows you to get a 1st-person view of the latch actuating and gripping the aircraft wheel:
We are always excited to see our parts getting used in cool projects, and we were especially excited to see this because it looks way easier than doing it the usual way:
 |
Ben, pushing a plane (before he started Crossfit). |
|---|
Related products

Pi Wars 2015
There is a nice recap on the Raspberry Pi blog of the Pi Wars 2015 competition that was held last weekend on December 5th, 2015. It is a robotics competition held in Cambridge, UK that focuses on robots controlled by a Raspberry Pi. I noticed a lot of Pololu parts on the robots in the videos. Just a few examples are wheels and tracks, motors, and reflectance sensors. I didn’t see any A-Star 32U4 robot controllers in the videos, but I think that would make a great controller for a robot in the next competition because it can be used as a Raspberry Pi expansion board!
You can check out the Pi Wars 2015 post for more details.


Patrick's mini sumo robot: Covert Ops
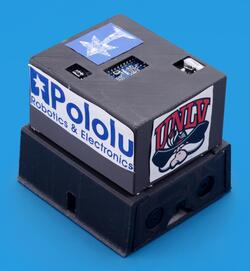
Hi, my name is Patrick. I am an engineering intern at Pololu and am studying at the University of Nevada, Las Vegas to earn a mechanical engineering degree. I decided to build a custom robot to compete in the recent LVBots mini-sumo competition here at Pololu. It was my first competition at LVBots. I started out by watching a compilation video of the previous sumo competition at LVBots since I had never competed in a mini-sumo competition before. My goal was to create a robot that could out maneuver other robots and had as few vulnerabilities as possible. To achieve this goal, I decided to build a robot that would be high speed and able to push opponents from both sides of the robot with a lot of force. The result of my efforts is the robot I call Covert Ops. Continued…
New product: G2 High-Power Motor Driver 18v17
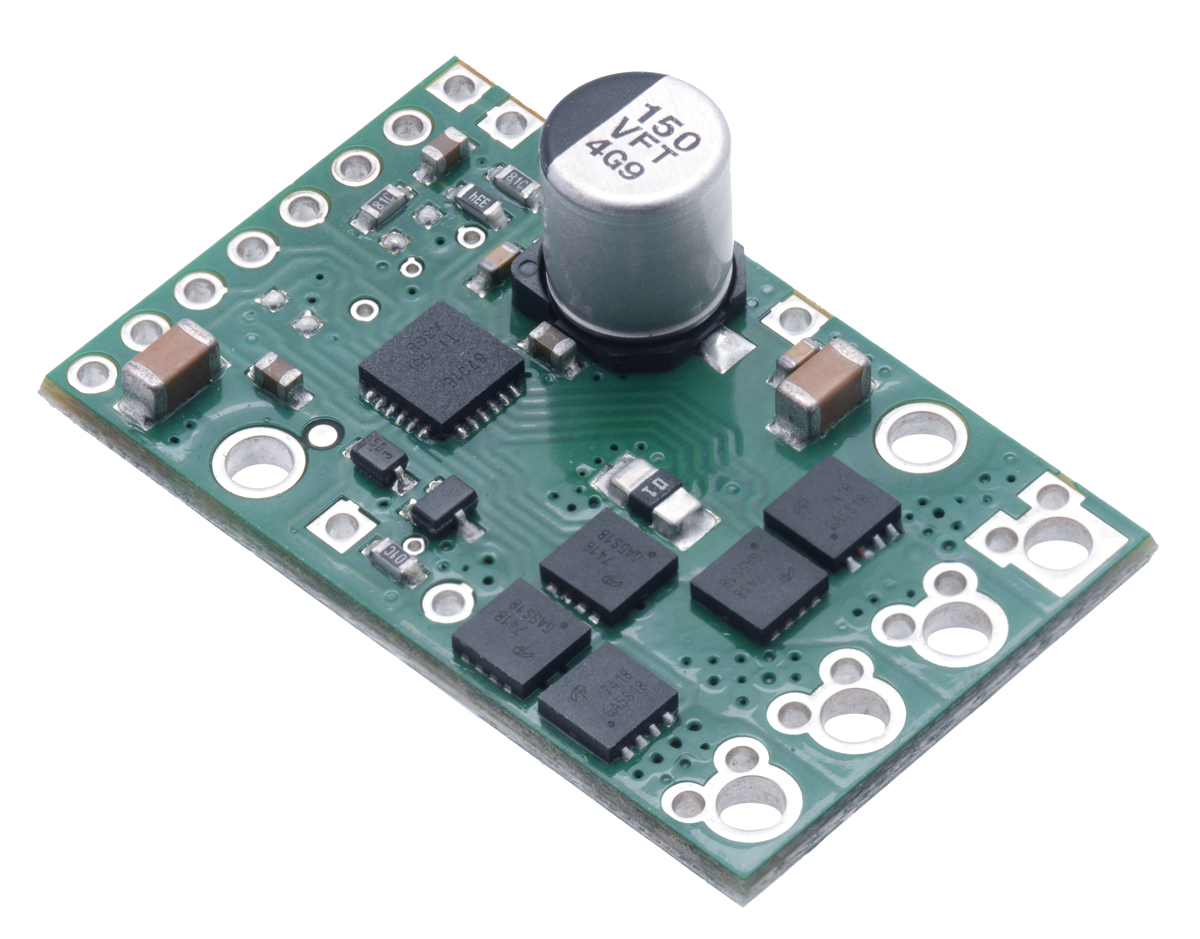 |
The Pololu G2 High-Power Motor Driver 18v17 is now available, joining its 24v13 sibling in our second-generation family of high-power motor drivers.
This discrete MOSFET H-bridge can supply a brushed DC motor with up to 17 A of continuous current at voltages between 6.5 V and 30 V. Compared to its predecessor, the G2 driver handles a little more current and offers features like reverse-voltage protection, current sensing, and current limiting. For more information, see its product page.


New products: 3.3V, 5V, 6V, 7.5V, and 9V Step-Down Voltage Regulator D24V22Fx
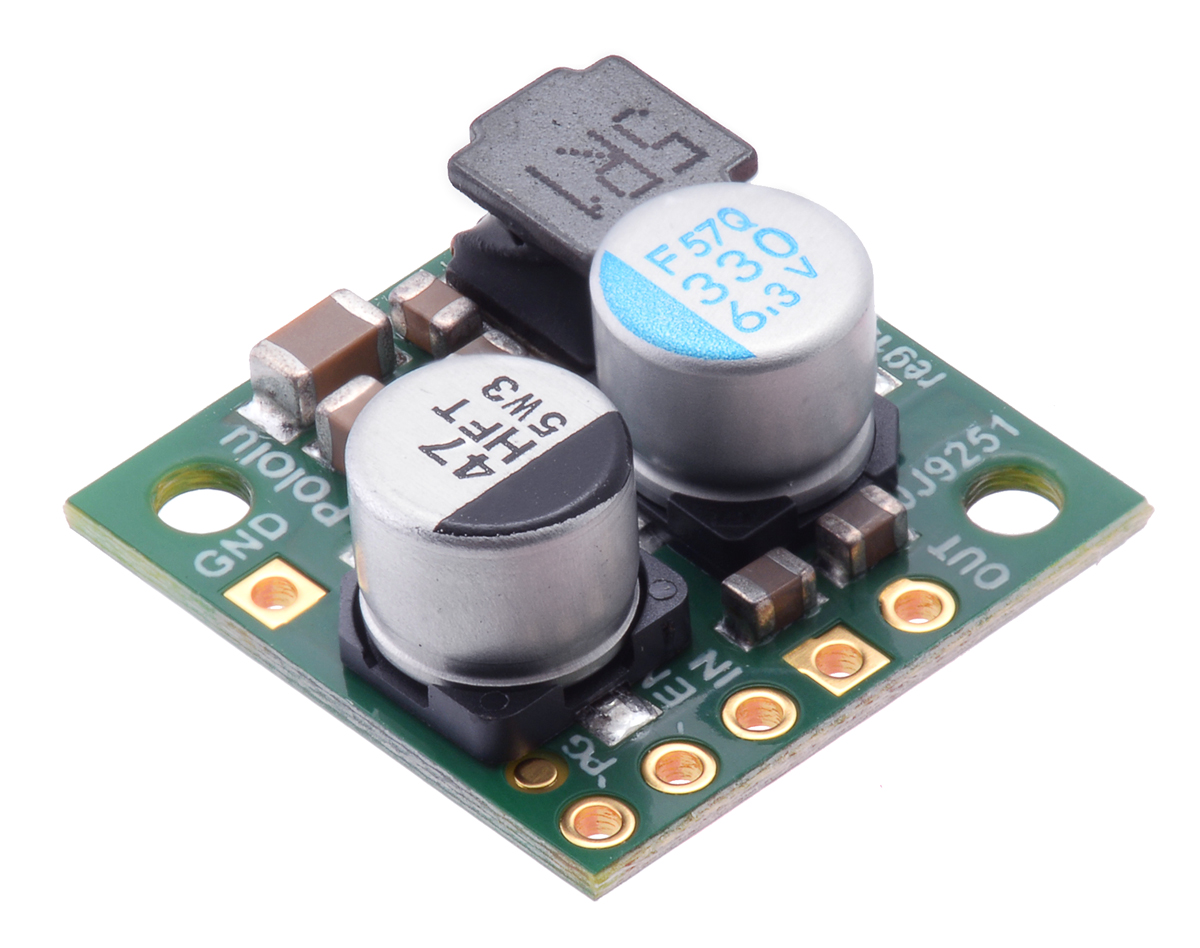 |
This post is a few weeks late, but I am following up on my original D24V22F12 12V regulator introduction to let you know that we now have 3.3 V, 5 V, 6 V, 7.5 V, 9 V, and 12 V versions of our new D24V22Fx family of step-down voltage regulators. These regulators all have typical efficiencies of 85% to 95% and can deliver continuous currents over 2 A in typical applications.
The new D24V22Fx regulators are priced lower than the older D24V25Fx family that they will be replacing. The two designs have the same size and similar current capabilities and input voltage ranges, but they do not have the same pinout and are based on different internal circuits, so there are fundamental differences in operation. In particular, these newer D24V22Fx regulators have much lower dropout voltages and provide a “power good” signal, and the newer design allows for higher output voltages (e.g. 12 V).
See the product pages for any of the D24V22Fx regulators for more information on these new regulators, or visit our voltage regulator category to see all of our regulator options.
Related products


New product: Ion Motion Control RoboClaw 2x7A dual motor controller (V5)
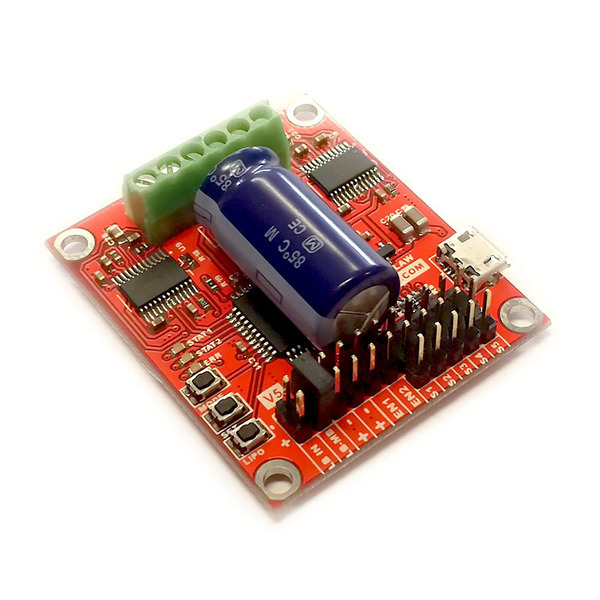 |
The RoboClaw motor controllers from Ion Motion Control (formerly Orion Robotics) can control a pair of brushed DC motors using USB serial, TTL serial, RC, or analog inputs. Integrated dual quadrature decoders make it easy to create a closed-loop speed control system.
Ion Motion Control has replaced the MOSFETS on the RoboClaw 2x5A Motor Controller (V5) with better ones and is now calling it the RoboClaw 2x7A Motor Controller (V5). The 2x7A can supply up to 7.5 A continuous and 15 A peak, up from 5 A and 10 A, and is otherwise functionally and physically identical to the 2x5A.
More details are on the RoboClaw 2x7A Motor Controller (V5) product page.
Related products


Home | Forum | Blog | Support | Ordering Information | Lists | Distributors | BIG Order Form | About | Contact
© 2001–2026 Pololu Corporation


