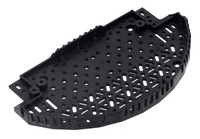
Romi Chassis Expansion Plate - Black
This is a merged information page for Item #3560.
View normal product page.
Pololu item #:
3560
Brand:
Pololu
Status:
Active and Preferred

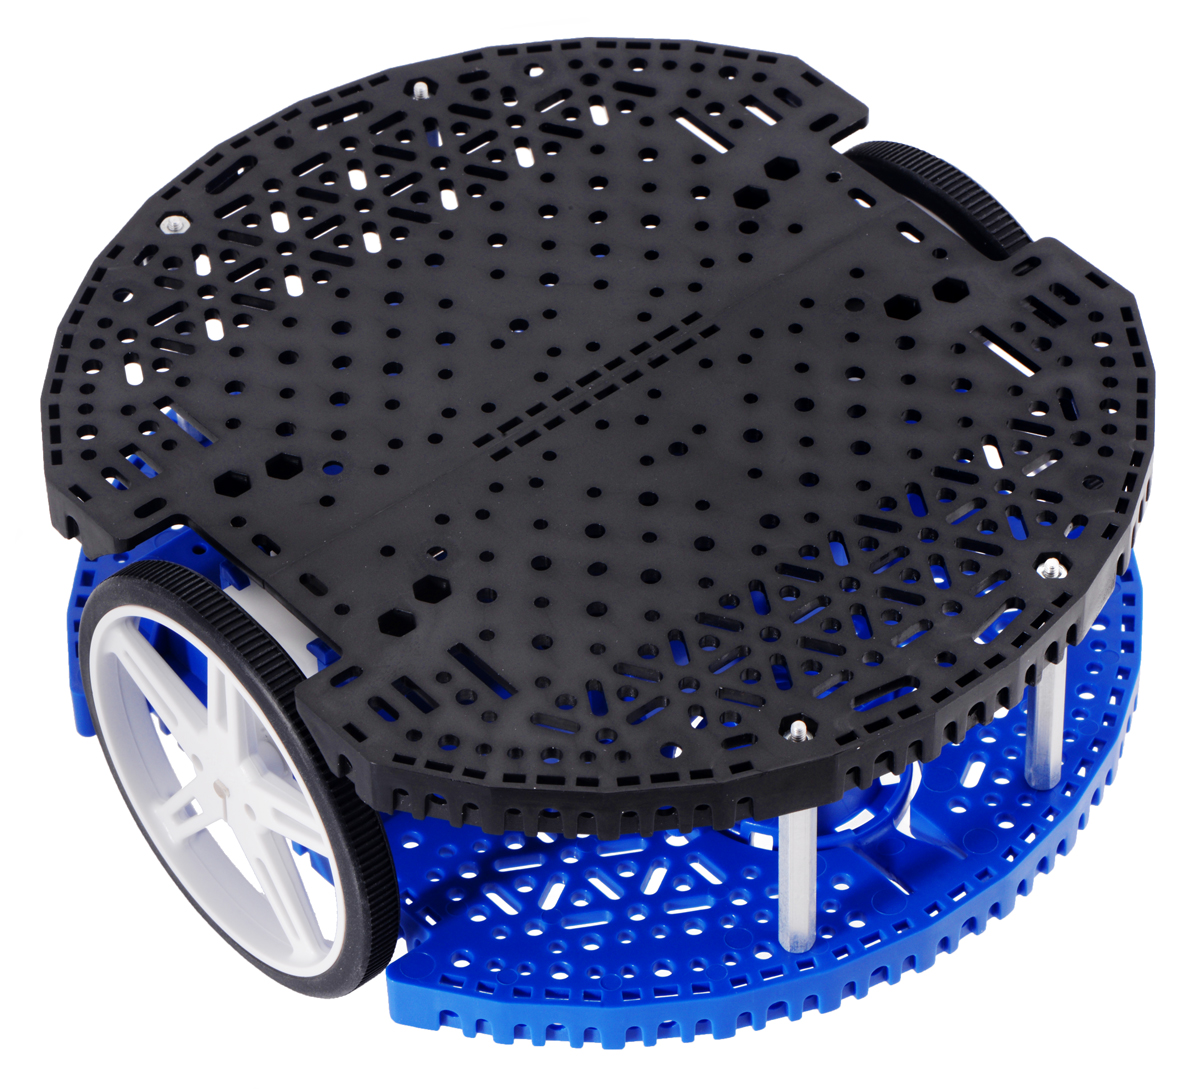
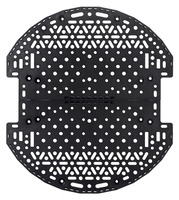
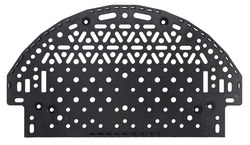
This Romi Chassis accessory offers a convenient way to expand your Romi robot vertically by adding new tiers. The expansion plate has the same diameter as the base plate, but we made it only a half circle to give you more expansion options. For example, when used as part of the Romi robot arm kit, it supports the arm in the back while leaving the front half of the Romi open. For a full-sized expansion platform, just combine two expansion plates. A mixture of mounting holes and slots give you the flexibility to mount components in a variety of orientations almost anywhere on the plate.
This expansion plate for the Romi chassis is made from black ABS.
 Compare all products in Romi Chassis and Accessories or Romi Chassis Components.
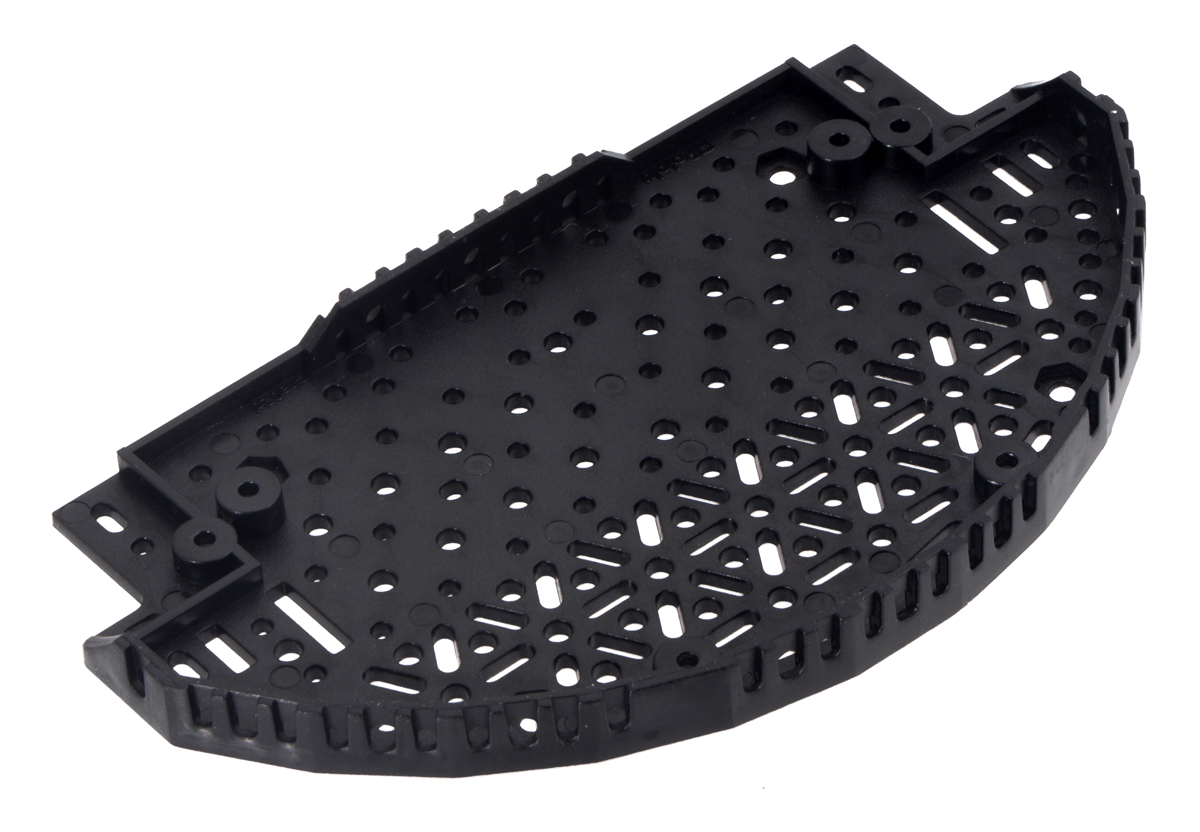
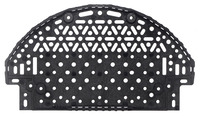
Pictures
 |
Romi Chassis Expansion Plate |
|---|
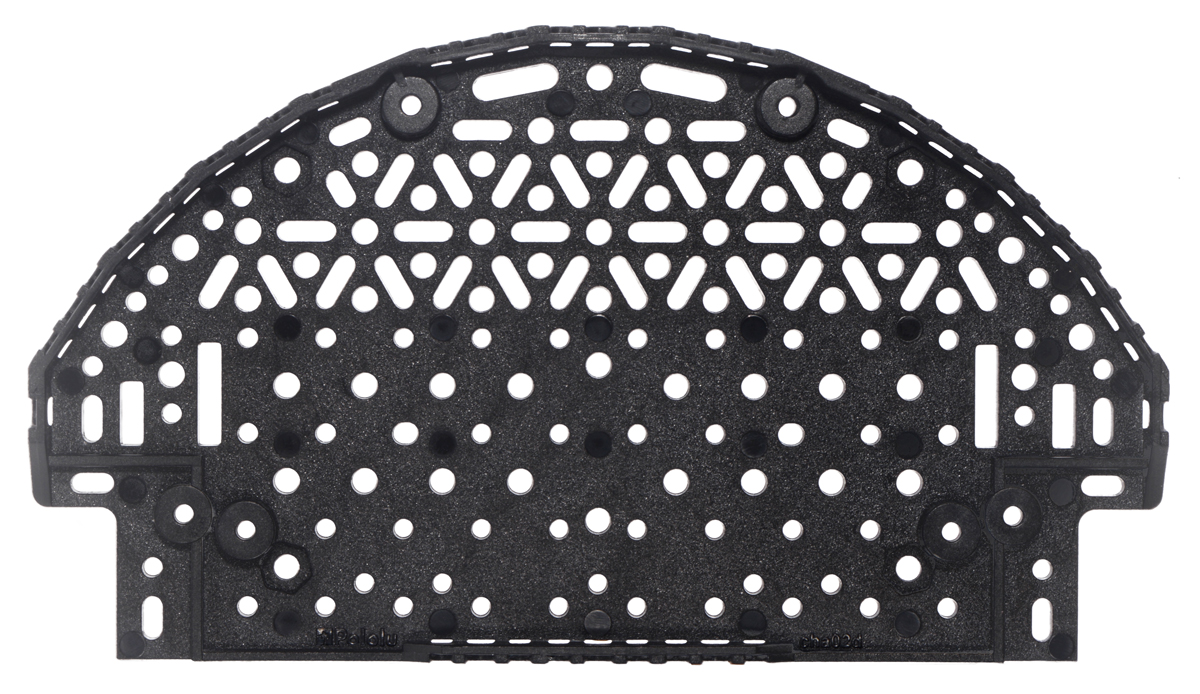
 |
Bottom view of the Romi Chassis Expansion Plate. |
|---|
 |
Bottom view of the Romi Chassis Expansion Plate. |
|---|
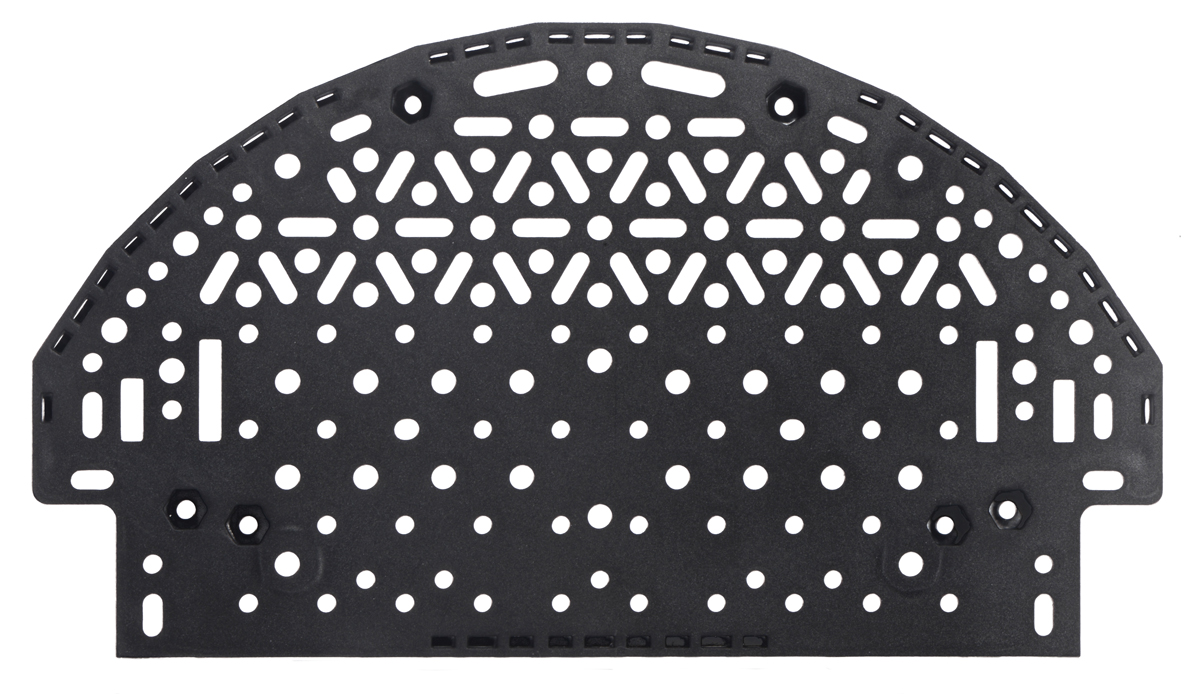
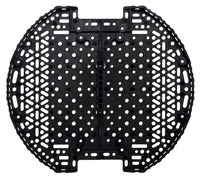
 |
Top view of the Romi Chassis Expansion Plate. |
|---|
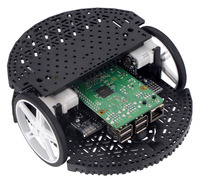 |
Romi Chassis Expansion Plate mounted on a Romi with a Romi 32U4 Control Board and Raspberry Pi. |
|---|
 |
Romi Chassis Expansion Plate mounted on the front half of a Romi chassis. |
|---|
 |
Two linked Romi Chassis Expansion Plates mounted on a blue Romi chassis using four 1-1/2″ length, 2-56 thread, M-F aluminum standoffs. |
|---|
 |
Side view of two linked Romi Chassis Expansion Plates mounted on a blue Romi chassis. |
|---|
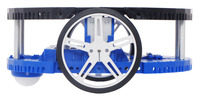
 |
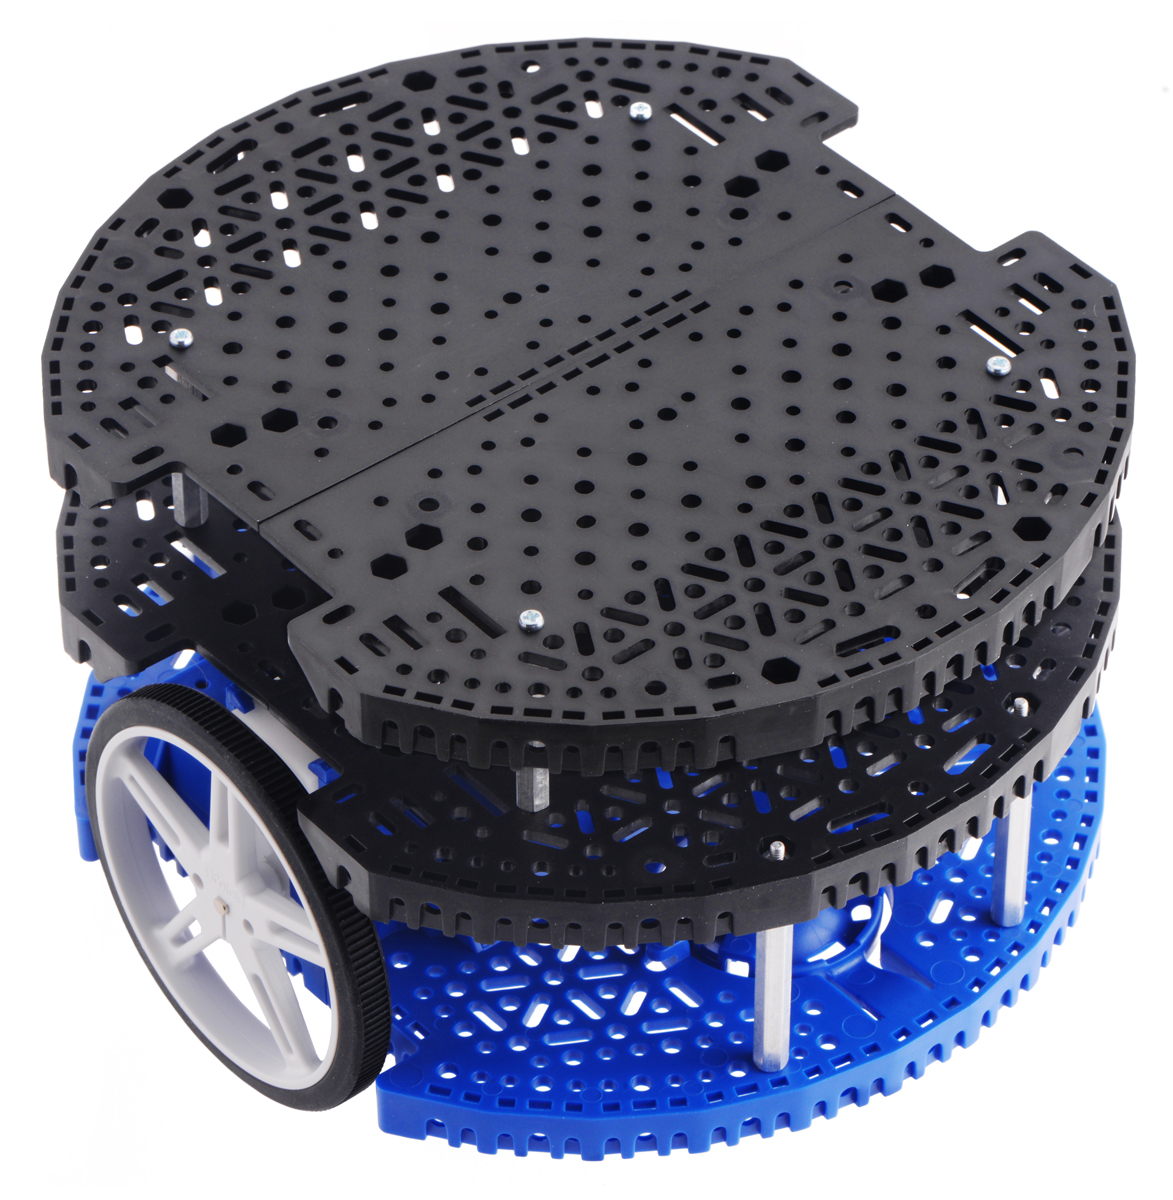
Four linked Romi Chassis Expansion Plates (two pairs) mounted on a blue Romi chassis using aluminum standoffs. |
|---|
 |
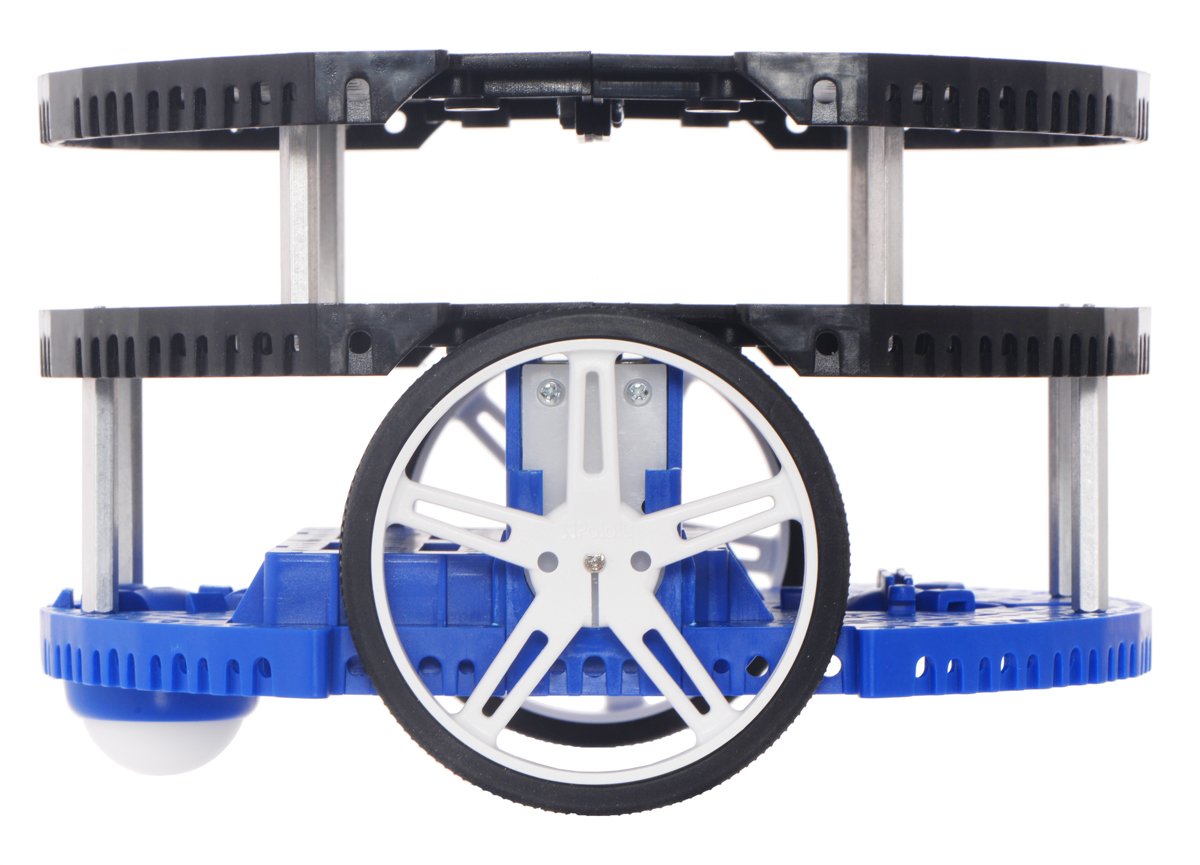
Side view of four linked Romi Chassis Expansion Plates (two pairs) mounted on a blue Romi chassis using aluminum standoffs. |
|---|
 |
Bottom view of two Romi Chassis Expansion Plates linked with #2-56 screws and machine nuts. |
|---|
 |
Top view of two Romi Chassis Expansion Plates linked with #2-56 screws and machine nuts. |
|---|
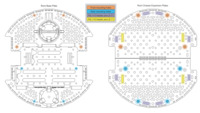 |
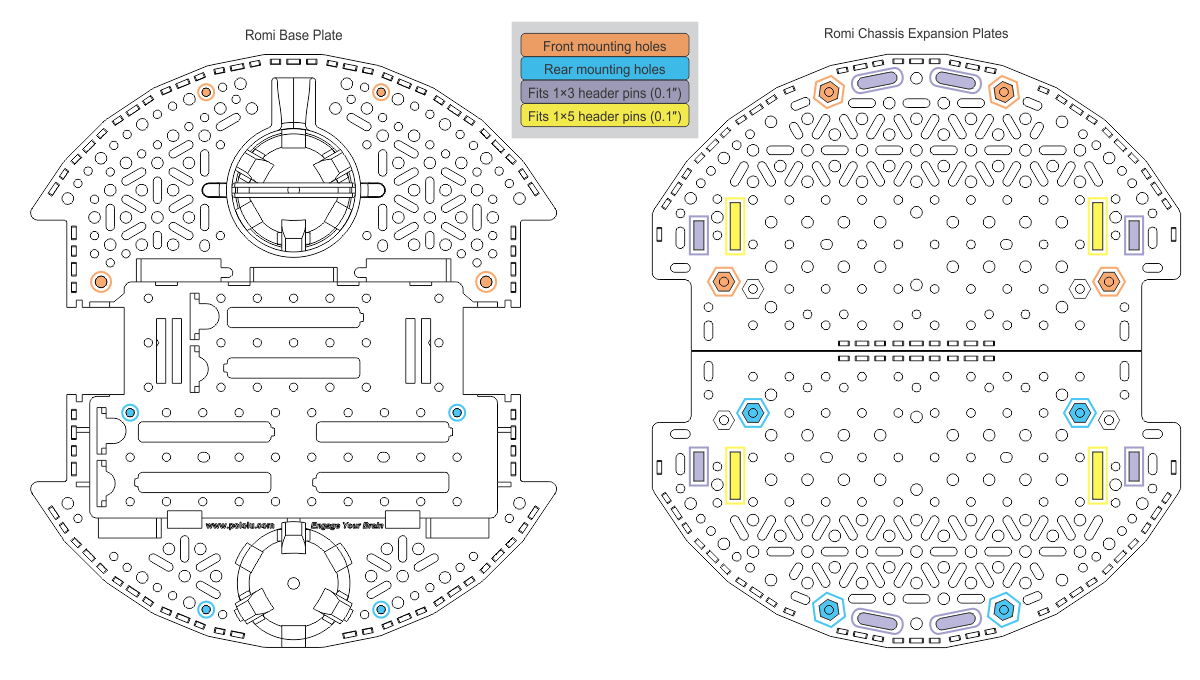
Diagram of the mounting locations and wire pass-through locations on the Romi Chassis Expansion Plate. |
|---|
Overview
This expansion plate makes it easy to add more levels to your Romi robot, providing plenty of extra room to mount additional components and sensors to your Romi chassis. The abundance of mounting holes and slots that cover the plate match the pattern used on the Romi chassis base plate and are intended for various sizes of screws (not included) such as #2-56, #4-40, M2, and M3. The plate also features several slots for passing wires through to make your electrical connections. This is the same plate that is included as part of the Romi robot arm kit.
|
|
 | Top view of the Romi Chassis Expansion Plate. |
|---|
|
 | Bottom view of the Romi Chassis Expansion Plate. |
|---|
|
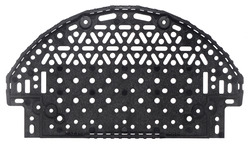
The expansion plate is a half circle with the same diameter as the base plate, and it can be installed over either the front or rear half of the Romi chassis using appropriately sized standoffs (see below for more information):
Two expansion plates can be combined to make a full-sized expansion platform. Side-facing holes in the plate wall make it possible to lock them together with either #2, #4, M2, or M3 screws and nuts for increased stability, as shown in the left picture below:
It is also possible to use multiple expansion plates to add multiple levels to your Romi:
Please note that the taller you make your Romi, the more important weight distribution becomes. If you are unable to significantly bias it toward the rear so it is over the back ball caster, you should consider getting a second ball caster to install in the front ball caster socket. This ball caster has built-in suspension that you might need to stiffen through the addition of a rubber band as described in the assembly section of the Romi user’s guide, or you can disable the suspension entirely and lock the ball caster in place using a washer.
Installing the expansion plate
The above diagram is also available as a downloadable PDF (537k pdf).
The expansion plate has built-in mounting studs with nut captures that are intended for use with our #2-56 M-F aluminum standoffs. Mounting the expansion plate over the front half of the chassis (i.e. using the locations colored orange in the above diagram) requires four (4) 1.5″-long standoffs, while mounting it over the rear of the Romi (i.e. using the locations colored blue above) requires two (2) 1.5″-long standoffs and two (2) 1″-long standoffs. You will also need a #2-56 hex nut and 1/4″ #2-56 screw for each standoff. Please note that the rear configuration accounts for the thickness of a PCB (approximately 1 mm) between the chassis and the 1″ standoffs, so if you do not have a PCB mounted over the battery compartment, you can use some washers or spacers to ensure the expansion plate sits level.
These are the minimum length standoffs required to clear the height of the motors; you can stack multiple standoffs of varying lengths to raise the plate further. If you do not want to use the mounting studs, there are many other mounting holes that line up with the chassis as well.
Dimensions
General specifications
Frequently-asked questions
No FAQs available.
On the blog